
Reviewed · KYOTO TEMPLE & SHRINE TOURS
Kyoto: Calligraphy class at Buddhist temple in city center
Ink on tatami, right in central Kyoto. In a Buddhist temple setting near Seigan-ji, you write your own kanji on a shikishi board and leave with a real souvenir from the brush. I really like the small-group coaching and the calm focus, but the workshop sits on the floor, so tatami can be tough on legs.
What makes this class feel special is the structure. You get step-by-step instruction, a translator to help you understand every stage, and enough practice time to finish something you’ll actually want to display at home. It’s not a silent ceremony, but the room usually stays quiet because everyone is concentrating on strokes, ink, and spacing—plus you’ll still be close to Kyoto’s action outside the temple.
In This Review
- Key highlights you’ll remember from Kyoto calligraphy at Seigan-ji
- Entering Seigan-ji: meeting point rules that keep it smooth
- The 70-minute flow: from basic strokes to your final shikishi
- What you really get for $55: value beyond the materials
- Washitsu and tatami comfort: the floor seating detail that affects your experience
- Teacher coaching and translation support: why the pace feels doable
- Choosing your kanji: how to make the class feel personal
- Temple etiquette during the workshop: quiet rules that matter
- Who this calligraphy class suits best in Kyoto
- Should you book this Kyoto calligraphy class at a Buddhist temple?
- FAQ
- Where is the meeting point for the Kyoto calligraphy class?
- Is the workshop silent?
- How long is the calligraphy class?
- What language support is available during the class?
- What do I take home at the end?
- Are drinks or food included?
- What materials are included in the price?
- Is the workshop wheelchair accessible?
- What are the basic rules during the workshop?
Key highlights you’ll remember from Kyoto calligraphy at Seigan-ji
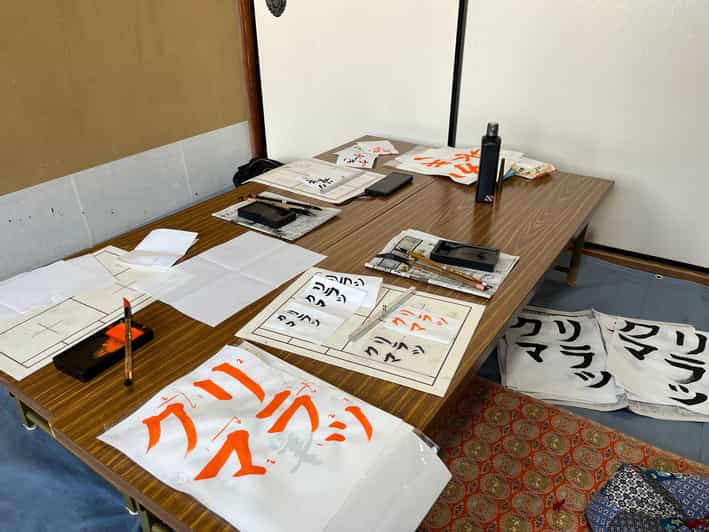
- Write your own kanji on a shikishi and take the finished artwork home
- Choose from word/kanji options or bring your own ideas so you’re ready to start
- Tatami and washitsu seating with zabuton floor pillows (desks are limited)
- Hands-on tools included: washi, brush, ink, plus materials like bunchi and shitakami
- A matching kanji key-chain made as a take-home OMIYAGE
- Teacher + translator coaching, with English/Spanish/Japanese/Dutch support
Entering Seigan-ji: meeting point rules that keep it smooth
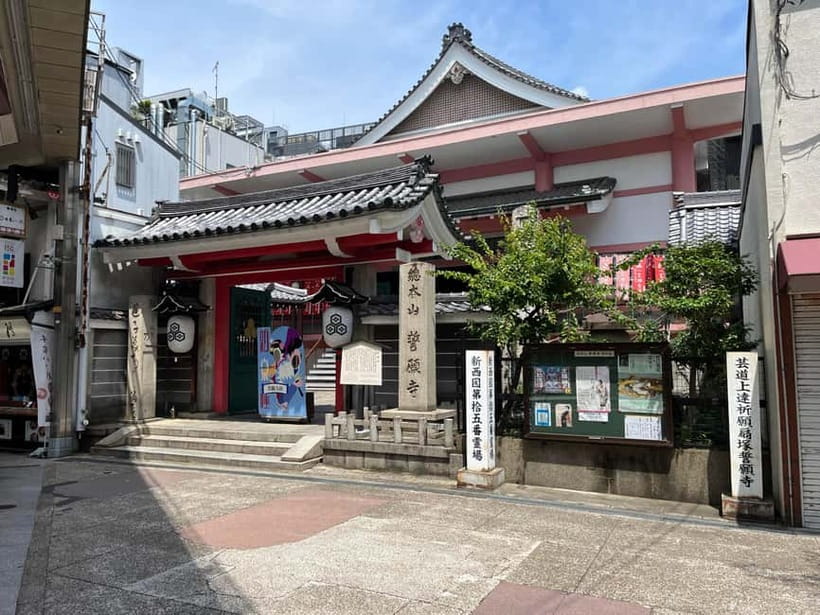
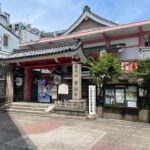
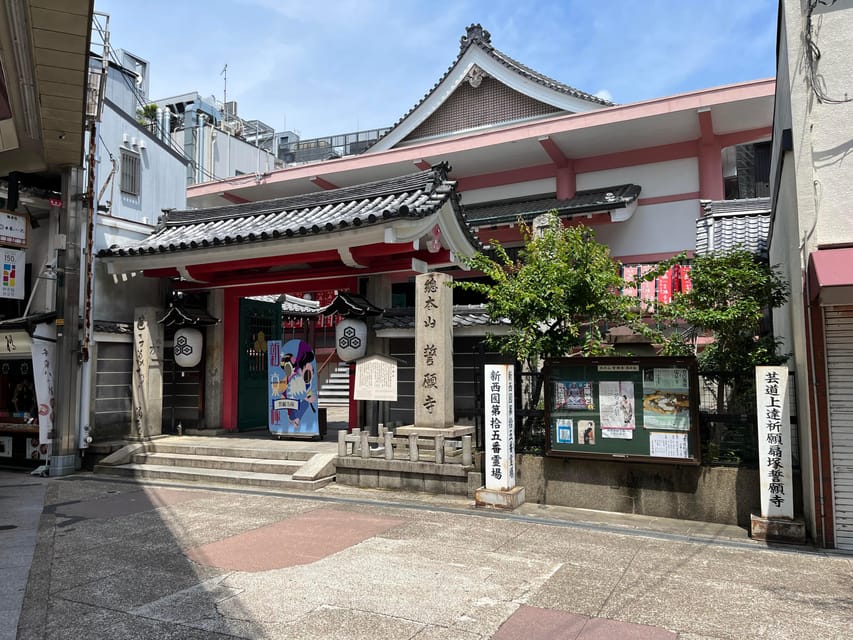
This workshop meets right outside Seigan-ji Temple in the Shinkyogoku shopping street area. Your check-in spot is in front of the temple: look for the person holding a red lantern on a stick under the roofed street.
Two temple etiquette points really matter here:
- Don’t go up the stairs to enter on your own.
- Don’t ask monks or temple staff if you’re at the right place.
Instead, wait at the front for your host holding that lantern. That simple choice helps you avoid awkward timing and also keeps things respectful inside an active temple environment. In practice, it means you’ll start on time without the stress of finding the room yourself.
More temples and shrines to slow down in across Kyoto

The 70-minute flow: from basic strokes to your final shikishi
The workshop is built like a mini lesson—enough time to learn the tools, practice, and still finish a clean final piece. Expect about 70 minutes from arrival in the washitsu to the moment you’re done writing and packing your work.
Here’s the pacing you should expect, in plain terms:
- Meet your teacher and translators
You’ll get introduced to the calligraphy instructor and the translation support. In many sessions, this pair works like a team: the teacher demonstrates and coaches the brushwork, while the translator helps you understand what to do next and why.
- Pick the kanji/word you want to write
You can choose a character from options provided, but it’s smart to come with a few ideas. Many instructors will explain options and help you settle on a character that fits the time you have. (Some people find it easier when they’ve prepared ahead instead of choosing under pressure.)
- Learn how to use the tools
This is more than “dip brush, write.” You’ll go over how the writing setup works, including paper and ink handling. The goal is to help you control where ink lands and how your brush moves.
- Practice basic lines and strokes first
You’ll start with simpler brush movements before you attempt your chosen character. This is what prevents your final calligraphy from looking rushed or messy.
- Practice your specific kanji/character
You repeat the form until it feels closer to what the teacher wants: correct flow, proper spacing, and ink that doesn’t look blotchy.
- Create your finished artwork on shikishi
Your final piece is done on shikishi, a special square board used for Japanese calligraphy. This is the moment where practice pays off—because you’re trying to translate the stroke drills into one confident version.
- Take it home as your completed OMIYAGE
You’ll leave with your completed calligraphy work. Plus you’ll typically get a small take-home item: a key-chain made with your chosen character by the teacher.
One important reality check: calligraphy is easier to ruin than people expect. If you keep over-practicing in the final stretch, your arm may get tired, and the lines can suffer. The class flow is designed to help you practice enough, then stop at the right time so your final version looks strong.
What you really get for $55: value beyond the materials
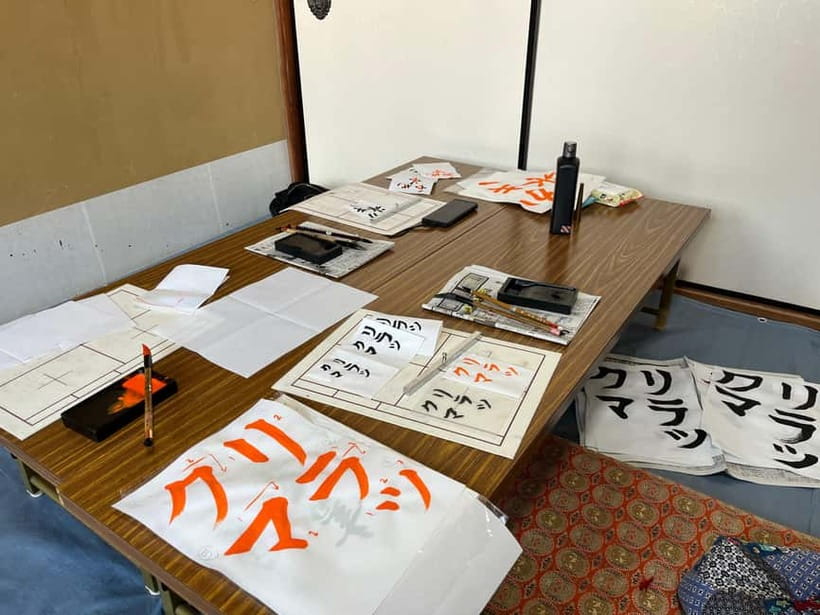
At $55 per person, the value comes from what’s included—not just the supplies.
You’re getting:
- Materials such as washi, brush, ink, and other writing tools (bunchi and shitakami are included)
- Guidance: explanation, examples for choosing your character, and practice coaching
- The finished take-home board (your shikishi artwork)
- A special souvenir key-chain with your character
If you’ve ever tried Japanese craft workshops that sell you cheap paper and then rush the instruction, this feels different. The structure here gives you enough time to make an actual “I did this” piece. That’s why it can work as a highlight even if you’re not an artsy person.
Also, the small group format matters for the price. With a limit of up to 6 participants, you don’t disappear into the back row. Many people end up getting personalized tips at the desk/floor space where they’re writing.
Washitsu and tatami comfort: the floor seating detail that affects your experience
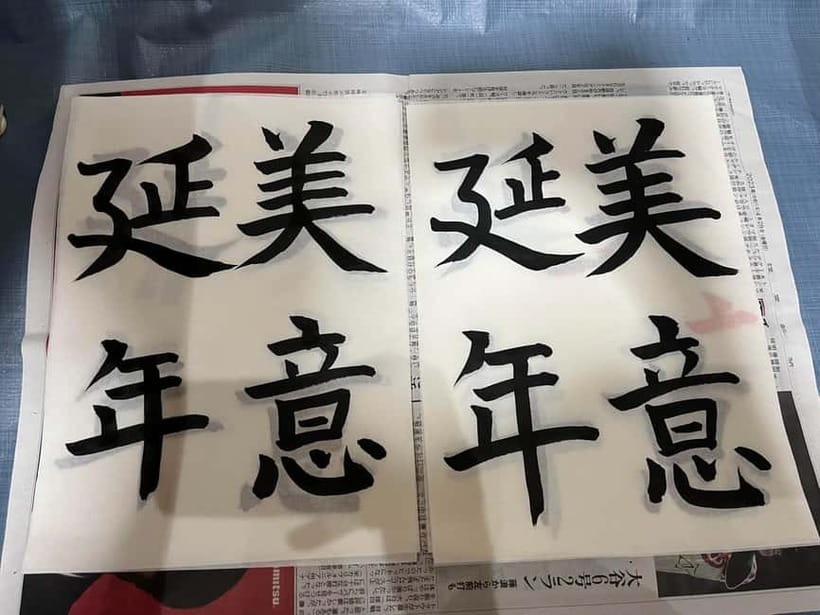
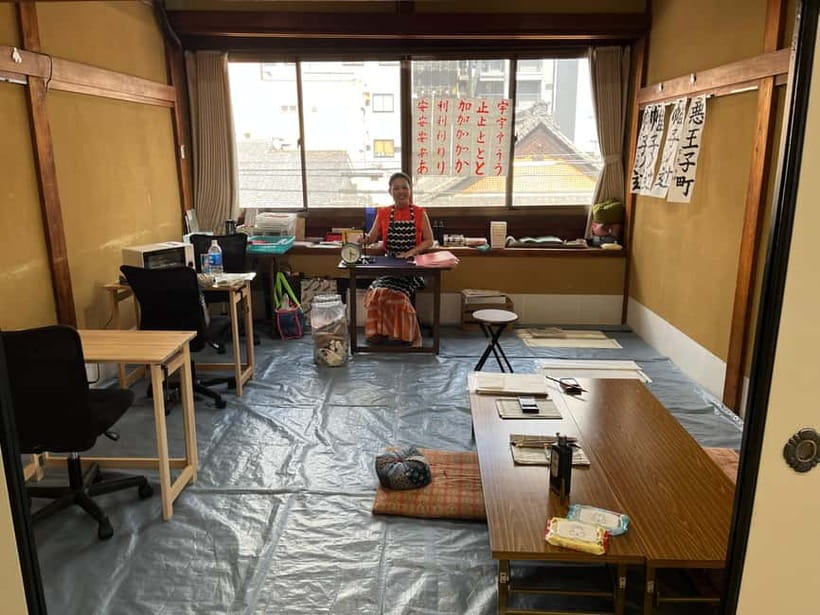
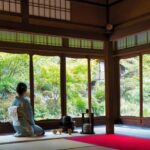
This workshop takes place in a washitsu with tatami flooring. Most seating is on the floor using zabuton floor pillows. There are desks, but they’re limited.
This is the main practical consideration I’d plan for:
- If your knees or hips don’t love floor sitting, you’ll want to consider how long 70 minutes can feel.
- If you can, wear clothing that lets you sit comfortably.
- Also note: bare feet are not allowed, so wear socks or appropriate footwear.
Wheelchair accessibility is listed, but even then, the core setup is a Japanese-style room. That means your comfort and writing position are something to think about before you book—because calligraphy requires steady control, not constant shifting.
Teacher coaching and translation support: why the pace feels doable
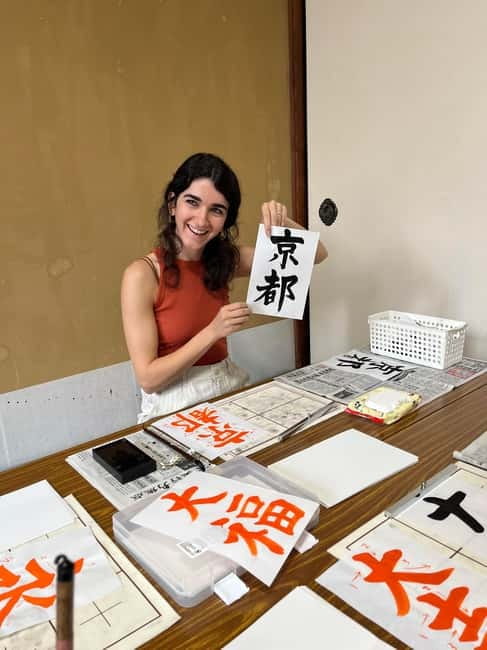
The workshop isn’t just a demonstration. The instructor guides you step by step, and the translator(s) help you follow the instructions in your language. The listed languages are English, Spanish, Japanese, and Dutch.
In the experience, you’ll see a familiar pattern from many strong workshops:
- The teacher focuses on correct brush technique.
- The translator keeps the lesson understandable, including what to do during each practice stage.
- The instructor often gives encouraging feedback to help you improve without making you feel behind.
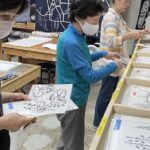
You’ll also likely get photo support. Several participants mention guides taking pictures during the class, which is helpful because you’ll be busy writing and might not capture the moment after your final strokes.
Make something by hand in a Kyoto workshop


Choosing your kanji: how to make the class feel personal
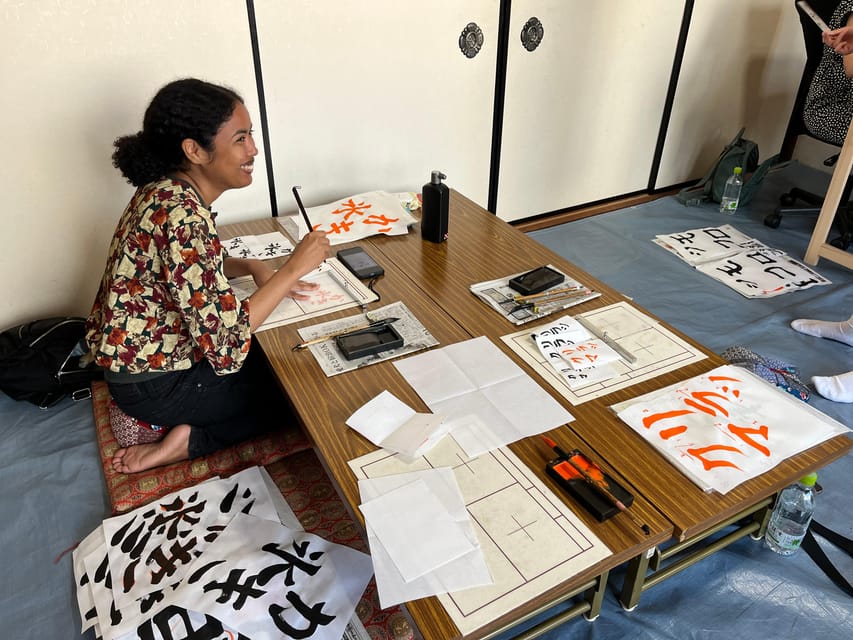
Your final artwork depends on the character you pick. You can select from provided options, but the best results happen when you go in with a couple of candidate meanings in mind.
Here’s what I suggest:
- Choose a kanji that you can picture meaningfully in your life, not just something you recognize.
- Think about how many strokes it has—some characters are simpler to practice in a single session.
- If you already know your kanji, you can spend class time practicing strokes instead of deciding.
One detail to know: calligraphy is harder in the beginning than it looks. Some people find it especially challenging from the typical right-handed perspective. Even then, the class environment is supportive, and you’ll still be guided through correct technique even if you’re adapting your handedness.
Temple etiquette during the workshop: quiet rules that matter
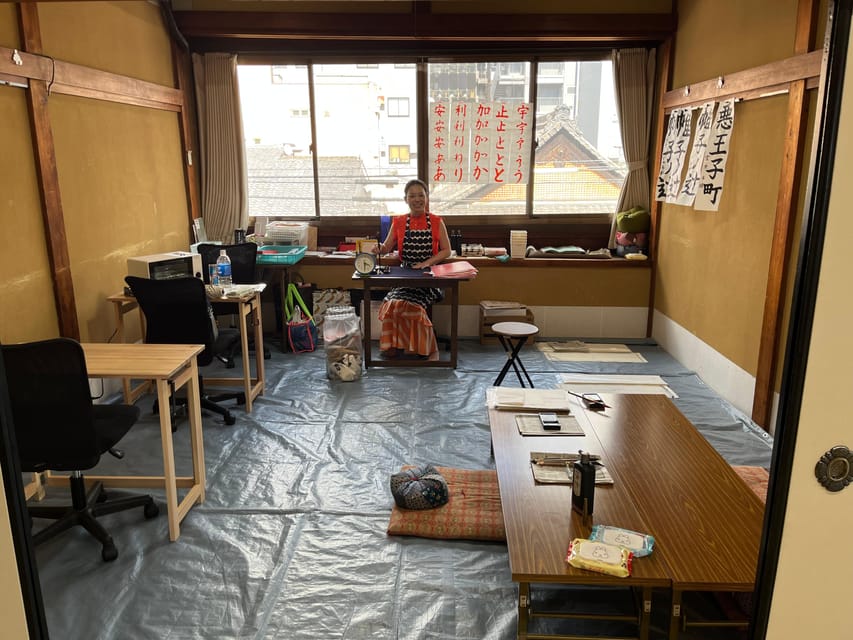
Inside the temple space, the tone is respectful and focused. It’s not a complete silence—expect normal workshop sounds like writing and soft conversation as translation happens—but the overall vibe is calm because everyone is concentrating.
Also watch the rules:
- No smoking or vaping
- No alcohol or drugs
- No bare feet
And remember the meeting point instructions: don’t go wandering up the temple stairs looking for your room. Wait for the red lantern holder and follow them in. That keeps your entry smooth and avoids disrupting monks and staff.
Who this calligraphy class suits best in Kyoto
This is a good fit when you want a hands-on cultural activity that ends with something tangible. It’s especially strong for:
- Couples and solo travelers who want a shared, structured activity
- People who enjoy making rather than only watching
- Families with older kids who can sit on the floor and follow instructions
It may not be a fit if:
- You need something silent and ceremony-like the whole time (this includes translation and coaching)
- You can’t comfortably sit on tatami for about 70 minutes
Age guidance is specific: it’s not suitable for children under certain ages (under 2 through under 5 are listed), and it’s not suitable for visually impaired people. Wheelchair accessibility is listed, but seating and writing setup still matter.
Should you book this Kyoto calligraphy class at a Buddhist temple?
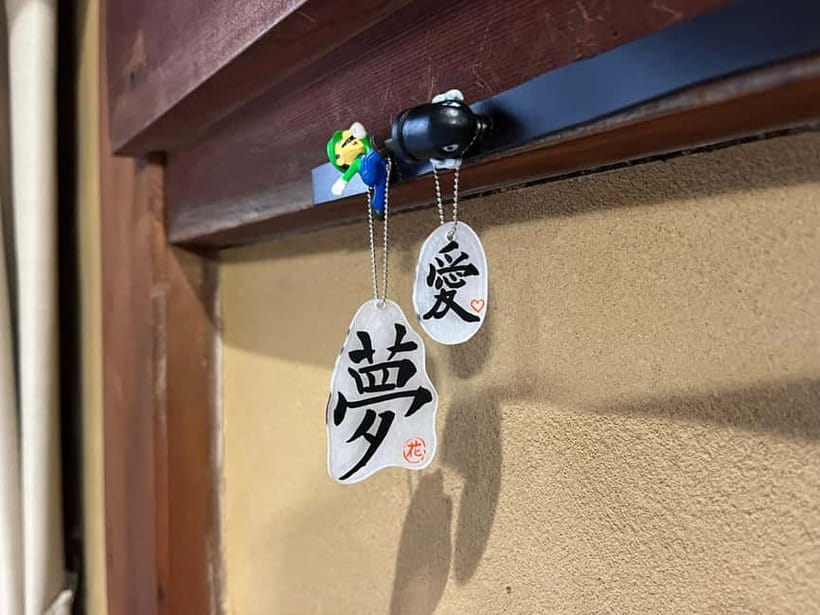
Yes, if you want one Kyoto activity that turns culture into a hands-on souvenir. For the money, you get real instruction, materials, your finished shikishi artwork, and a matching kanji key-chain. That’s a lot of value for a single 70-minute session.
Book it especially if:
- You’re curious about shodo (Japanese calligraphy) and want a first lesson in technique
- You want something you can hang up at home instead of another photo-only memory
- You’re okay with floor seating and want the washitsu feel
Skip it or think carefully if:
- You have trouble sitting on the floor for extended periods
- You want food included (this class doesn’t serve food; drinks aren’t included either, but vending machines are outside)
If you do book, come ready to choose your character. Even a small amount of planning—having a couple kanji ideas in your head—makes the class feel smoother. Once the brush starts moving, the time passes fast, and you’ll leave with a piece of ink-and-paper you actually made yourself.
FAQ
Where is the meeting point for the Kyoto calligraphy class?
Meet in front of Seigan-ji Temple in the Shinkyogoku shopping street. Look for the person holding a red lantern on a stick under the roofed street. Do not go up the stairs to enter.
Is the workshop silent?
No. It is not a complete silent experience. The room tends to be quiet because everyone concentrates on writing, but translation and instruction happen during the session.
How long is the calligraphy class?
The workshop lasts about 70 minutes.
What language support is available during the class?
Instruction and translation support are listed in English, Spanish, Japanese, and Dutch.
What do I take home at the end?
You take home your finished calligraphy work on shikishi, and you also receive a key-chain made with your chosen character as a souvenir.
Are drinks or food included?
No. Food and drinks are not included. You can buy drinks at vending machines outside the temple.
What materials are included in the price?
Materials included are washi, brush, ink, bunchi, shitakami, plus the instructional materials and examples used to choose your kanji/word.
Is the workshop wheelchair accessible?
Wheelchair accessibility is listed. The room uses tatami and zabuton for most seating, so your comfort with the space setup is still worth considering.
What are the basic rules during the workshop?
Smoking and vaping are not allowed, and no alcohol or drugs. Bare feet are also not allowed.
More Tour Reviews in Kyoto

More Kyoto Workshops to Try
More Kyoto Temples and Shrines

Just added: more Kyoto tours to browse




Kyoto Temple & Shrine Tours, compared.
 ★ 4.9Tea Ceremony Ju-An at Jotokuji TempleFrom $293,207 reviews
 ★ 4.8Arashiyama Bamboo, Temple, Monkeys, or Secret Sake BreweryFrom $87886 reviews
 ★ 5.0Arashiyama Bamboo Forest, Monkeys, Matcha & Temple TourFrom $53759 reviews
 ★ 4.4Osaka/Kyoto: Arashiyama, Nara & Fushimi Inari Shrine w/LunchFrom $61754 reviews
 ★ 4.7Imperial Palace & Nijo Castle Guided Walking TourFrom $49453 reviews
 ★ 5.0Kyoto Zen Meditation & Garden Tour at a Zen Temple with LunchFrom $110441 reviews
 ★ 5.0Zen Experience in a Hidden TempleFrom $109437 reviews
 ★ 5.0KYOTO Tea Ceremony with kimono near by Imamiya Jinjya ShrineFrom $99343 reviews
Browse the lists this tour appears in