
Reviewed · FUSHIMI INARI SHRINE TOURS
Kyoto: Fushimi Inari Shrine Private Photoshoot
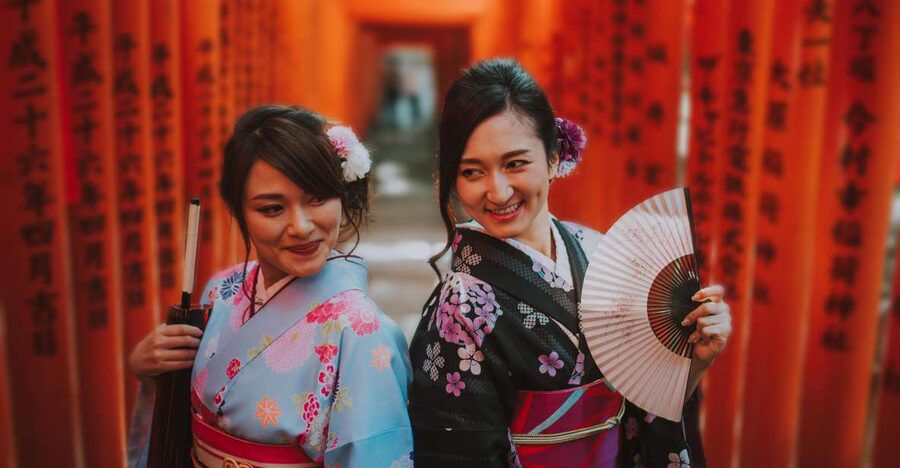
Torii gates can feel like chaos. Here, they turn into a photo plan. This private Fushimi Inari Taisha photoshoot is all about moving through the famous Senbon Torii experience with a professional photographer guiding your angles and stops.
I really like two things about it: you get a private, on-the-ground photo session that’s adjustable to how you want to shoot, and you’ll receive 30 fully edited, high-resolution photos within 24 hours. One consideration: the gates area can be busiest during peak seasons, and photo delivery can run late then, plus transport and admission fees (for paid sites) aren’t included.
In This Review
- Key Highlights You’ll Actually Care About
- Why Fushimi Inari Taisha Is Perfect for Photography
- What the Private Setup Changes (90 Minutes to 7 Hours)
- Meeting at Senbon Torii and Getting Oriented Fast
- The Main Shrine Entrance: Where the Photos Feel Official
- Senbon Torii (Thousands of Gates Path): The Part You Came For
- Hidden Torii Trails and the Yotsutsuji Intersection
- Fox Guardian Statues: Small Details That Make the Set Smarter
- How the Photoshoot Runs and What You’ll Receive
- Price and Value: Is $109 a Fair Deal?
- Photographer Quality: The Mina and Josh Factor
- Practical Tips to Make Your Torii Shots Look Like You Tried
- Who This Photoshoot Is Best For
- Should You Book This Private Fushimi Inari Photoshoot?
- FAQ
- How many edited photos will I receive?
- When will I get the edited photos?
- Do I also get unedited photos?
- Is the price per person?
- Where do we meet?
- Are transportation and admission fees included?
- Can I book and cancel flexibly?
Key Highlights You’ll Actually Care About
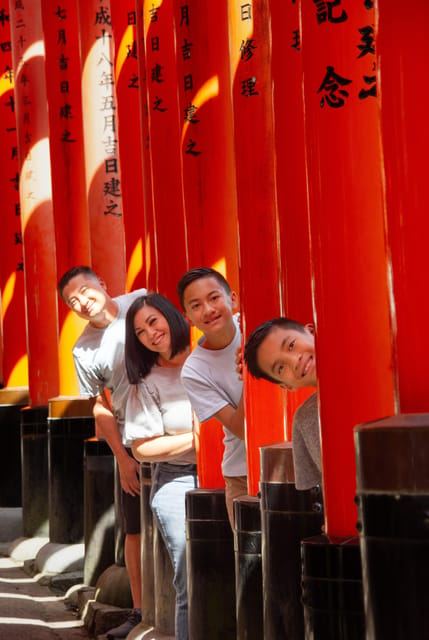
- Private photoshoot with a professional photographer focused on where to stand and how to frame your shots at Fushimi Inari Taisha
- Senbon Torii walking route through the thousands of vermillion torii gates, plus options like hidden torii trails
- 30 edited photos in 24 hours plus standard-quality JPGs for your own use
- Clear photo outputs: roughly 200 standard JPG images per hour and a final edited set you can download
- Language support with a live guide available in Arabic, Japanese, and English
- A named success factor: photographers like Mina and Josh are reported to know strong shot locations and angles
Why Fushimi Inari Taisha Is Perfect for Photography
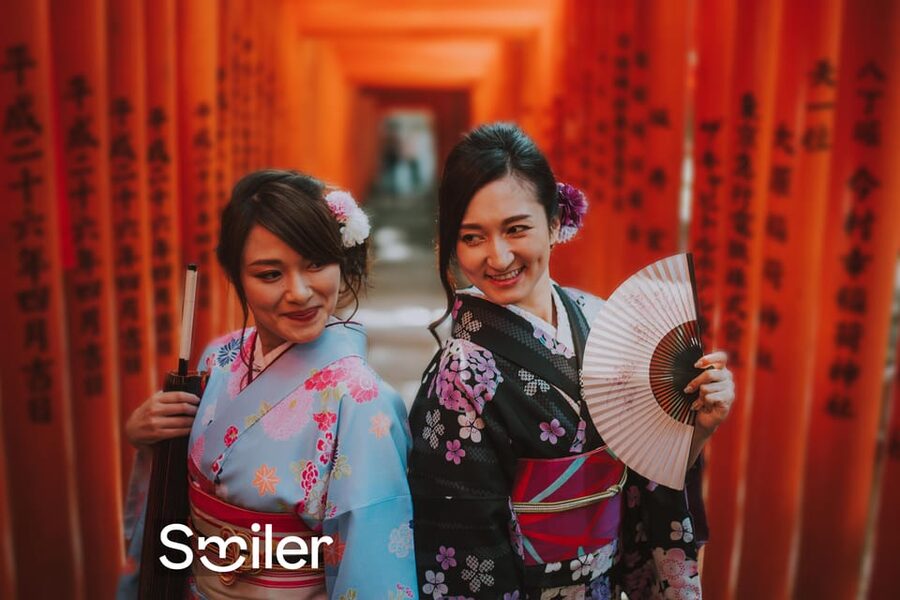
Fushimi Inari is one of the rare places where the scenery basically does the composition for you. The repeated pattern of torii gates creates strong leading lines, so even simple poses look intentional. And the shrine has multiple areas that change the feeling of your photos—so you’re not stuck with one background for the whole session.
What makes this photoshoot especially workable is that it’s designed around variety. You’re not just “there and then done.” You’re guided through key sections like the Main Shrine Entrance, the Senbon Torii area, and even hidden torii trails. Add in stops around the Fox Guardian Statues and the Yotsutsuji Intersection, and you get a mix of scenes that helps your photo set feel like a real mini story of your Kyoto day.
The other reason this is a good match for most visitors: you don’t need to know the best angles ahead of time. The photographer’s job is to help you translate the chaos of a crowd and a huge shrine space into clean frames you’ll want to save and share.
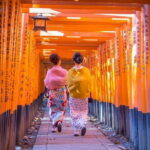
More walks up through the vermilion torii of Fushimi Inari
What the Private Setup Changes (90 Minutes to 7 Hours)
This is a private group experience. That matters more than you might think. On a big-group walking tour, you’re often stuck with other people’s speed, other people’s photos, and other people blocking your view. Here, you can set a comfortable pace and focus on what you actually want your Kyoto pictures to look like.
The duration is flexible too: 90 minutes up to 7 hours depending on availability. A shorter session can get you the icons fast, while a longer one helps you slow down and try more positions, angles, and scene variations along the torii paths. If you’re traveling with a specific goal—family photos, a solo portrait set, or just a clean “Kyoto looks like Kyoto” set—this longer option tends to give you more breathing room.
Also, the shoot isn’t one rigid script. The experience is described as covering 5 scenic spots within about 1.5 hours, but the session can be adjusted based on your preferences. That’s useful if you want more time in Senbon Torii or if you’d rather allocate more focus to the less obvious torii areas.
Meeting at Senbon Torii and Getting Oriented Fast
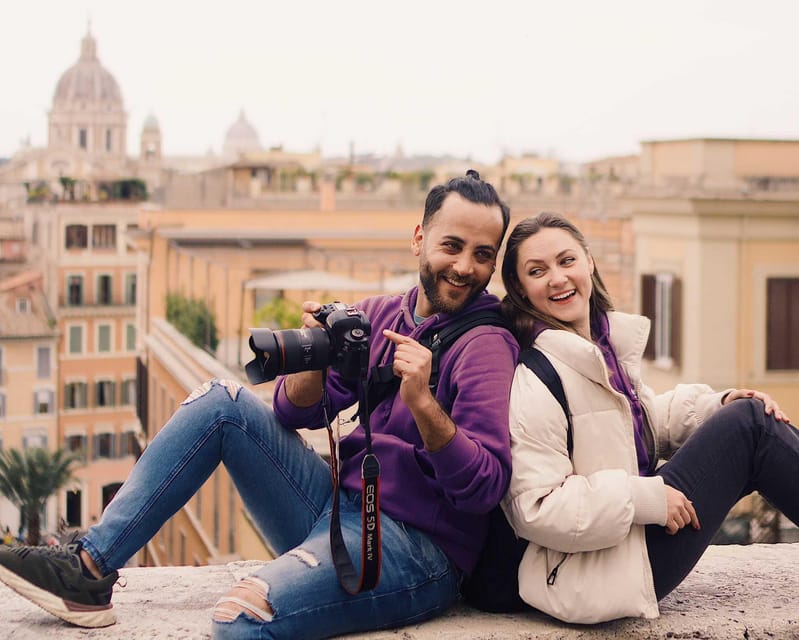
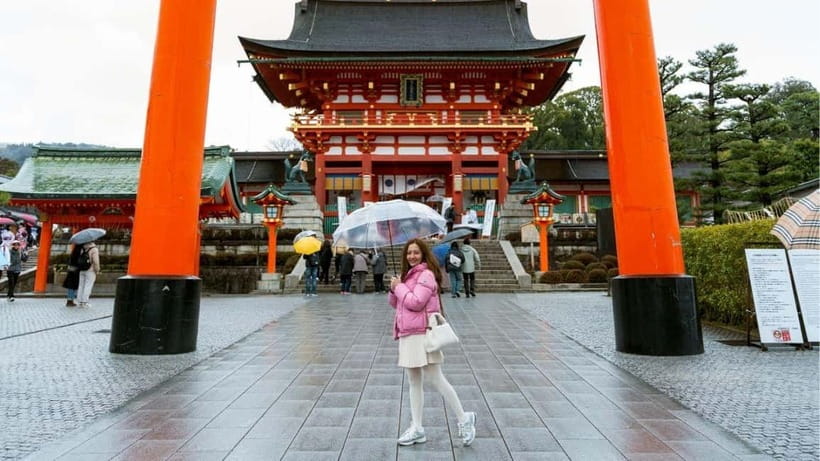
You meet at the entrance of the Sanctuary. In practical terms, you’ll be starting in the Senbon Torii area, often referred to as the Portada de Mil Torii (the gate area associated with the thousand gates). Getting started here is smart because it puts you right into the signature torii-gate photo setting immediately.
Before you even start clicking, plan to show up ready to walk. Bring comfortable shoes—torii paths are not where you want to test new sneakers. Add a hat, sunscreen, and water. Even if you think you’ll only be “standing for photos,” the session involves moving between areas, including options like hidden torii trails.
One small practical tip: have your camera ready, but also be ready for the photographer to move you. Good photo work here is about positioning—where you stand relative to the gate lines and how you time your steps so you don’t end up with the wrong crowd shape in the background.
The Main Shrine Entrance: Where the Photos Feel Official
The session includes a stop for photos at the Main Shrine Entrance. This is the moment where you get the “I visited Fushimi Inari Taisha” proof that doesn’t look like a random snapshot. A private photographer helps you frame the space so the shrine’s scale and structure read clearly, not like a cramped travel photo.
This stop also works well because it sets your theme for the rest of the walk. If you want a photo set that mixes formal and playful shots, your first anchor photo can be more structured, and then later you can loosen up for torii-gate portraits.
Drawback to consider: the main entrance area is a key focal point. If you’re very sensitive to crowds or you hate waiting, you’ll want a session length long enough to let the photographer pick the better moments as you move through the shrine grounds.
Senbon Torii (Thousands of Gates Path): The Part You Came For
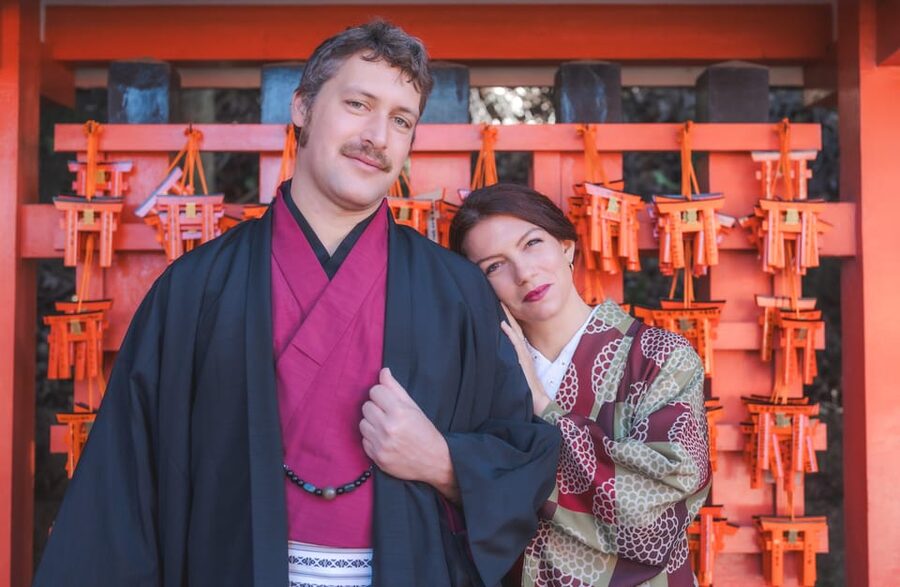
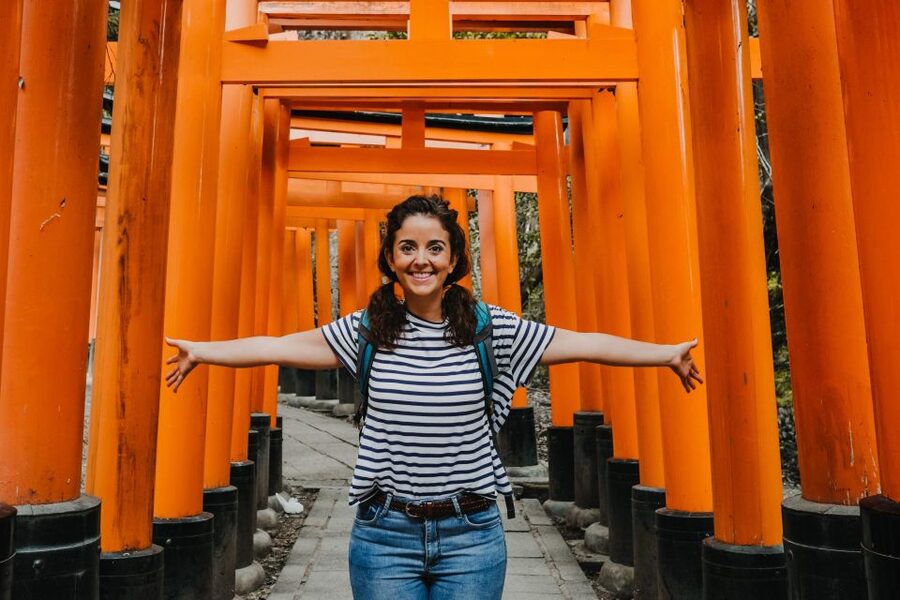
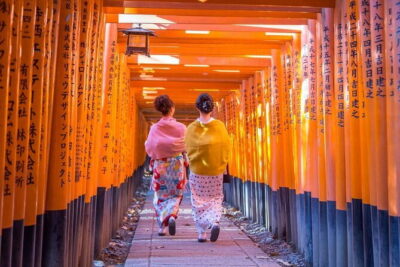
Senbon Torii is the headline. This shoot has you walking through the thousands of vermillion torii gates, which is where you can get those iconic gate-line compositions that look great even years later.
Here’s what you should expect in a practical sense: you’ll spend real time moving along the torii path, not just taking one or two quick photos. The photographer will guide your positioning and timing so your portraits sit naturally in the repeating architecture. This is also where the private aspect really helps—if you’re solo, the photos can be planned to give you a subject that feels centered in the gate pattern. If you’re in a small group, the photographer can help you arrange spacing so everyone fits the frame without turning the image into a group shuffle.
If you’re thinking about clothing, plan something that looks good against red/orange tones and doesn’t wrinkle easily. The tour data doesn’t specify wardrobe rules, but the location is strongly color-driven, and your outfit will interact with that background.
More temples and shrines to slow down in across Kyoto
Hidden Torii Trails and the Yotsutsuji Intersection
One reason this photoshoot feels more valuable than a simple walk is that it doesn’t force you to stay only on the most obvious path. You can visit hidden torii trails, plus the Yotsutsuji Intersection.
That intersection stop is useful because it adds a different kind of perspective. Instead of repeating the same gate pattern from one angle, you get a scene change—often where lines and directions visually split, which helps keep your edited photo set varied. Even if you’re trying to build a consistent look, scene variety prevents your gallery from feeling like 30 versions of the same photo.
Hidden trails are also a strong match for travelers who don’t just want the postcard shot. They’re included here because they add mood and route texture. You might find that these sections help your photos feel less like a stop-and-go tourist checklist and more like you actually explored the shrine grounds.
Fox Guardian Statues: Small Details That Make the Set Smarter
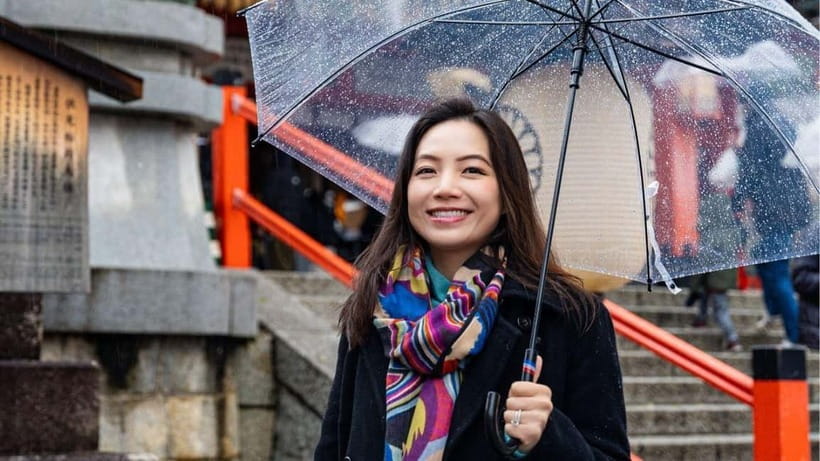
The session includes visits around Fox Guardian Statues. These are ideal for two reasons.
First, they add a clear visual story element—your photo set stops being only “torii gates behind me,” and starts to show shrine character. Second, statues are easier for a photographer to work with because they give stable, recognizable shapes. That means you can get creative compositions without needing perfect body positioning for the whole minute.
If you’re thinking like a photographer, statue areas also let you create variety: close-ups, medium framing, and wider shots that still keep the subject related to the location. Even if you’re not a camera person, you’ll benefit because the photographer can do the heavy lifting.
How the Photoshoot Runs and What You’ll Receive
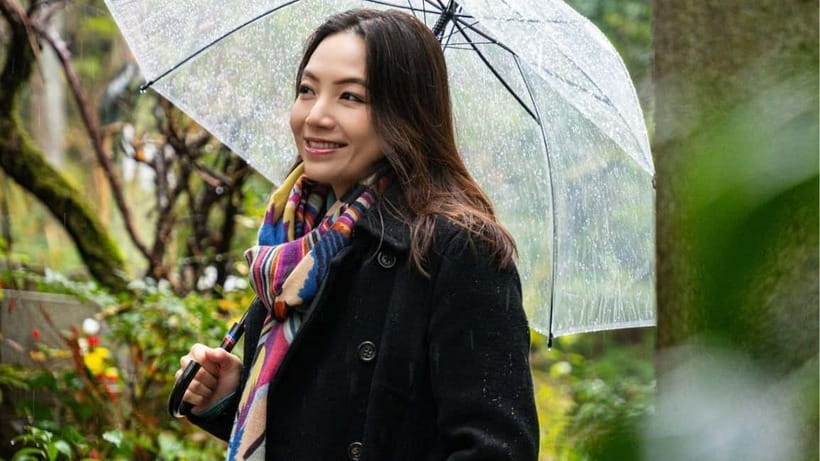
You’ll get a session that produces a lot more than a couple of staged images. The included package states that you receive all photoshoot images—about 200 standard-quality JPGs per hour—and then a curated set of 30 professionally edited, high-quality JPG photographs.
Delivery timing is fast and clear:
- Edited photos: within 24 hours (with possible delays during peak season)
- Unedited photos: provided the same day for personal use
- Downloads: available for 2 weeks after the link is sent, then they’ll be deleted
That combo is genuinely practical. You can post or share right away using the standard JPGs, and then later you’ll have the polished edited set for your final favorites. If you’re traveling with a tight schedule and want images ready before your next stop, this speed is a real advantage.
If you’re an editing enthusiast, you may feel a small limitation: raw files aren’t included. You can get them for an extra ¥10,000 per booking. For most travelers, the included JPGs are enough, especially since you still get a professionally edited set.
Price and Value: Is $109 a Fair Deal?
At $109 per group (up to 1), the value depends on what you want out of Kyoto. If your goal is “one good souvenir photo,” then hiring a private photographer might feel like overkill. But if your goal is a full mini-collection of Kyoto images—icons plus variety—and you care about composition, the price starts to make more sense.
Here’s the value breakdown based on what’s included:
- Private shoot at one of Kyoto’s most photo-heavy locations
- Government tax included
- Lots of standard JPGs (roughly 200 per hour)
- 30 edited photos delivered within 24 hours
- All unedited photos for personal use the same day
- Download access for 2 weeks
What’s not included (and matters for your budget):
- Transportation
- Admission fees if a stop requires a paid photographer admission
- Raw files (extra ¥10,000)
Another value note: you’re paying for decisions. Someone has to find the best spots, manage your posing and timing, and keep the session moving without wasting your time in the wrong place. In a shrine like Fushimi Inari, where the space is huge and the background is constantly changing, that “someone” is the difference between random photos and a gallery that looks planned.
Photographer Quality: The Mina and Josh Factor
The experience provider is PhoenixJP合同会社, and the quality of the photographer assignment can make a noticeable difference. Based on named examples, photographers like Mina are highlighted for knowing exactly where to go for the best shots, and Josh is mentioned as extremely talented and good at getting a great frame.
You shouldn’t expect every photographer to work the exact same way, but the consistent point is that you’re not on your own. The photography skill is part of what you’re paying for, and the strong feedback suggests the team focuses on location selection and shot execution.
Practical Tips to Make Your Torii Shots Look Like You Tried
You can absolutely improve your photos with a few small choices, even when you’re relying on a professional.
1) Wear comfortable shoes you trust.
2) Bring a hat and sunscreen. Shade comes and goes in the torii area, and long sessions happen if you book more time.
3) If you have a camera preference, bring your setup, but be ready to follow guidance for framing.
4) Keep water handy. It’s a long walk even in a relatively “short” 90-minute session.
Also, plan for peak-season timing. The experience notes that there can be delays in peak periods. If you’re trying to post photos on a specific deadline, build in some cushion.
Who This Photoshoot Is Best For
This is best for you if:
- You want iconic Kyoto photos without trying to figure out angles alone
- You care about getting edited, high-quality results quickly
- You want to cover more than just the most obvious spot by including hidden torii trails and Yotsutsuji Intersection
- You appreciate a private, adjustable experience rather than a fixed group pace
It’s also a good fit if you’re traveling with family or friends and you want a clean set where everyone is captured well. Even if you’re solo, the private format makes it easier to get portraits that actually feel like you’re part of the location, not just standing in front of it.
Language support is a plus too: Arabic, Japanese, and English are available through the live tour guide.
Should You Book This Private Fushimi Inari Photoshoot?
Book it if you want a photo gallery that looks intentionally composed and you’d rather spend money on someone guiding your shots than spending hours trying to self-direct in a crowded shrine maze. The included deliverables are strong—30 edited photos within 24 hours, plus standard JPGs the same day.
Skip it or reconsider if you:
- Only need one quick photo
- Hate the idea that peak-season crowds can affect timing
- Expect transportation or paid-site fees to be included (they aren’t)
If you’re aiming for a polished Kyoto set featuring Senbon Torii, the main entrance, and the extra route variety, this private shoot is a solid way to get there with less stress and better results.
FAQ
How many edited photos will I receive?
You’ll receive 30 professionally edited, high-quality JPG photos.
When will I get the edited photos?
The goal is to deliver edited photos within 24 hours, though delays can happen during busy/peak seasons.
Do I also get unedited photos?
Yes. You’ll receive all photoshoot images in standard-quality JPG format on the same day for personal use.
Is the price per person?
The price is per group up to 1 as listed.
Where do we meet?
You’ll meet at the entrance of the Sanctuary.
Are transportation and admission fees included?
No. Transportation is not included, and if a stop has paid entry that requires a photographer admission fee, you’re responsible for that.
Can I book and cancel flexibly?
You can cancel up to 24 hours in advance for a full refund, and you can reserve now and pay later.
If you want, tell me your travel month and whether you’re solo or a couple/family. I can help you pick a session length that matches your photo goals for Senbon Torii.
More Kyoto Photo Walks

More Kyoto Temples and Shrines
Fushimi Inari, a Few More Ways
Just added: more Kyoto tours to browse



Fushimi Inari Shrine Tours, compared.
 ★ 4.8Fushimi Inari, Kinkakuji, Bamboo Grove 1 Day Bus TourFrom $1224,316 reviews
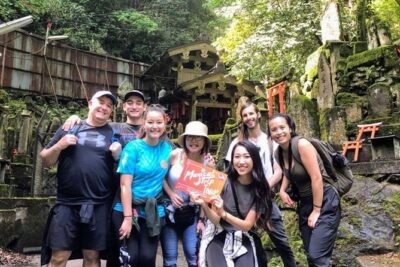 ★ 5.0Fushimi Inari Hidden Hiking Tour (Private Option Available)From $631,750 reviews
 ★ 4.7Kyoto/Osaka: Nara, Fushimi Inari Taisha, Arashiyama Bus TourFrom $521,275 reviews
 ★ 4.4Osaka/Kyoto: Arashiyama, Nara & Fushimi Inari Shrine w/LunchFrom $61754 reviews
 ★ 4.7Nijo Castle, Kiyomizu & Fushimi Inari Guided TourFrom $54700 reviews
 ★ 5.0Nijo, Kinkaku-ji, Arashiyama, Kiyomizu & Fushimi InariFrom $51699 reviews
 ★ 5.0Kyoto Fushimi-Inari Night Walking TourFrom $43320 reviews
 ★ 4.93-Hour Fushimi Inari Shrine Hidden Hiking TourFrom $72270 reviews
Browse the lists this tour appears in