
Reviewed · PHOTOGRAPHY SESSIONS
Kyoto Photography Masterclass – Private Photography Lesson
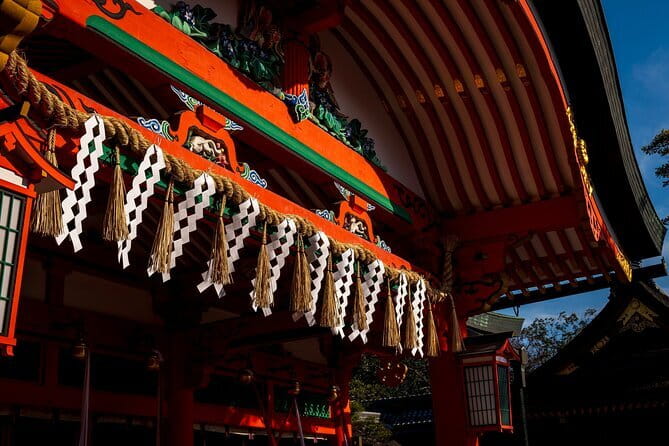
Kyoto at night is a camera test. This private photo masterclass puts you with a local guide and a professional photographer who help you find the right angles and lighting, from Gion lanes to the lights around Kiyomizudera. I like that the coaching is personal, so you’re not just sightseeing and hoping for the best. One thing to plan for: a tripod isn’t included—you’ll need to request one (or bring your own) if you want smooth long exposures.
What I really love is the focus on night photography, including the practical stuff that makes your images sharper and more intentional. You get instruction on camera settings and composition, plus time to reset and refine instead of sprinting to the next corner. If your brain usually freezes when the light gets dim, this is the kind of lesson that helps you get unstuck fast.
In This Review
- Key highlights you’ll actually notice
- Private Kyoto photo coaching: what the 3-hour lesson covers
- Where you meet and how the walk stays friendly
- Gion: machiya streets and the start of your Kyoto story
- Pontocho District and Gion Corner: lantern light and cultural details
- Yasaka Shrine and Hokan-ji: making night photos readable
- Koju Ninenzaka and the walk to Kiyomizudera after dark
- Night photography skills that this lesson focuses on
- What $170 gets you (and when it’s worth it)
- Who should book this Kyoto photo masterclass
- Should you book? My quick decision guide
- FAQ
- How long is the Kyoto Photography Masterclass?
- Is this a private tour?
- What does the price include?
- Do I need to bring a camera or tripod?
- Where does the tour start and end?
- Can I cancel for free?
Key highlights you’ll actually notice
- Private, paced coaching tailored to your current skill level
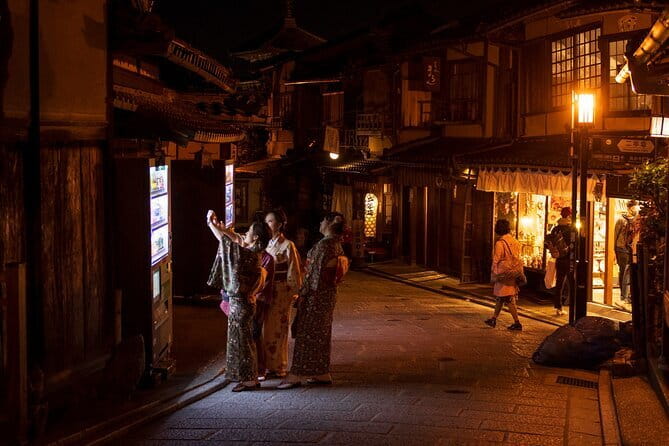
- Gion and Pontocho night scenes built for lantern light and atmospheric shots
- Camera settings + composition help so you learn what to change, not just what to photograph
- Long-exposure practice with tripod support available upon request
- Step-by-step refinement through reviewing images and re-shooting from better positions
- Local insider routing through Kyoto’s classic districts and quieter corners
Private Kyoto photo coaching: what the 3-hour lesson covers
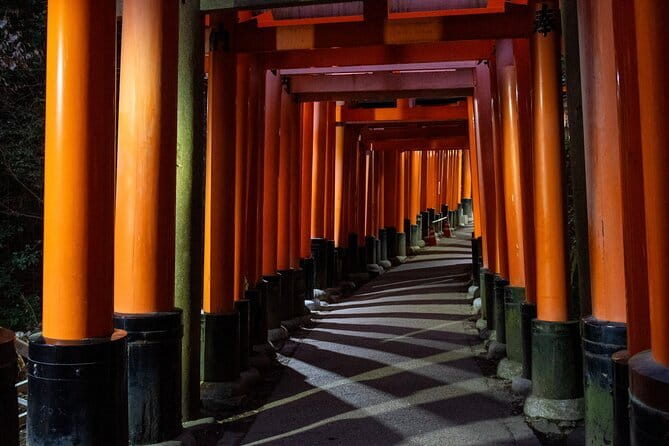
This is a three-hour private lesson, not a big-group walk. That matters in Kyoto, where the best photo spots are often just a few steps apart—but the light changes fast, and street traffic can interrupt your timing. With private guiding, you can slow down for the shot, step aside when you need space, and actually work through technical questions.
The format is straightforward: you’re led to top locations, angles, and lighting, then you get personalized education on camera settings and composition. You’ll also spend time working through night photography challenges, especially long-exposure techniques that help lanterns glow and city lights hold their shape.
You’re not stuck with generic rules like “try this setting.” Instead, you’re given guidance based on what you’re aiming to capture: textures, patterns, architecture details, and the feeling of Kyoto after dark.
Other Kyoto tours and experiences to compare
Where you meet and how the walk stays friendly
The experience starts at the Statue of Izumo-no-Okuni in Kawabatacho, Higashiyama Ward (Kyoto). It ends back at the same meeting point, which saves you from doing any extra navigation while you’re focused on photography.
Because it’s near public transportation, you can build it into a day (or evening) without turning your schedule into a maze. And since it’s private, you only coordinate with your group. If you’re coming from a hotel or ryokan, this “back to the start” structure makes it simpler to plan dinner right after.
Also: you’ll want to treat this like a photo session, not a casual stroll. Bring comfortable shoes and be ready to move at a working pace—Kyoto’s best light usually doesn’t wait for anyone.
Gion: machiya streets and the start of your Kyoto story
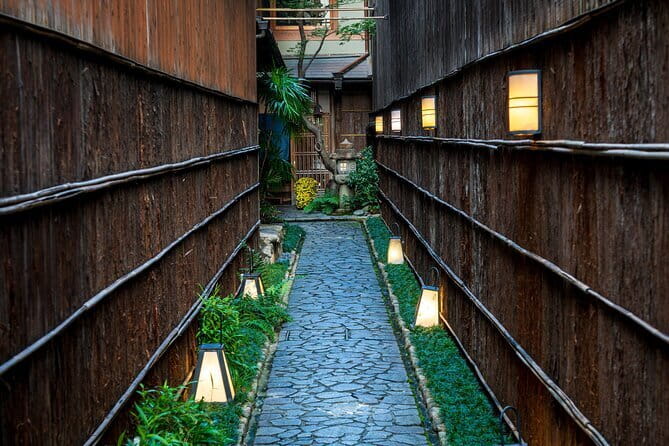
Your route begins in Gion, Kyoto’s most iconic neighborhood for classic streets and traditional machiya houses. This is a smart first stop because it sets the tone for the whole session: you learn how to look for texture and pattern, then you start seeing how modern and traditional Kyoto sit side-by-side.
In practical terms, Gion is where you can practice composition choices that matter later at night. You can work on framing: leading lines in narrow streets, layered depth from foreground to background, and how to separate your subject from busy surroundings.
Potential drawback: this area can attract attention, so you may need to be mindful when you pause, compose, and shoot for longer moments. The private format helps because your photographer can guide where to stand so you’re not crowding others.
Pontocho District and Gion Corner: lantern light and cultural details
From Gion you move to the Pontocho District, famous for atmospheric streets and the glow that makes night photos look like postcards. This is where night photography becomes more than a technical exercise. You’re working with real practical challenges—bright lantern sources, reflections, and mixed light.
Pontocho is a strong place to learn how to keep your image balanced. If your exposure is off, lanterns blow out and everything turns into a bright smear. If it’s too dark, the street loses its character. Your guide helps you correct course as you go, so you can start getting images that feel like Kyoto rather than just photos of Kyoto.
Next up you’ll pass through Gion Corner and Minamiza Theater. Even without turning this into a history lecture, these stops give you useful framing options—traditional signage, building shapes, and the way people move through the area. It’s a nice change of pace: you’re still shooting the same districts, but you’re building variety into your set.
Yasaka Shrine and Hokan-ji: making night photos readable
Yasaka Shrine is a natural photo anchor for evening scenes, and it’s a good spot for practicing subject isolation. When there are many lights and dark areas in the same frame, your job is to decide what the viewer’s eye should land on first. That’s exactly where composition coaching pays off.
Then you head to Hokan-ji Temple, another excellent place to shoot architectural textures and layered structures. Temples often give you strong shapes that look good in low light. They also help you practice long-exposure thinking: how long should you expose, and what effect do you want on moving elements like people and light trails?
Potential drawback: night photography can be frustrating when you’re expecting instant results. The advantage here is that the session is built for learning. Instead of getting one shot and moving on, you get guidance that helps you refine your approach.
Other Kyoto tours and experiences to compare
Koju Ninenzaka and the walk to Kiyomizudera after dark
As you progress toward Koju Ninenzaka (often paired with old-street vibes), you get more opportunities for textures—stone paths, angles of buildings, and street-level details that look great when the lighting is uneven. This stop is valuable because it keeps your photos from becoming only “big landmark shots.” You’re collecting the small stuff that makes Kyoto feel real.
Finally, the tour reaches Kiyomizudera Temple, described as a majestic night subject lit against the sky. This is a great place to apply what you learned earlier: adjust your framing, manage highlights, and think about the feeling you want. Long exposures can be especially powerful here because temple areas often have a mix of stable structure and glowing light sources.
If you’ve struggled with night scenes before, this is where the session clicks. Your photographer helps you work the scene so it doesn’t just look bright—it looks intentional.
Night photography skills that this lesson focuses on
This class is designed around night challenges, not just nighttime sightseeing.
Here’s what I think you’ll get the most value from:
- Long-exposure technique guidance: You’re taught how to handle dim light so your photos show atmosphere instead of noise and blur.
- Tripod support on request: A tripod isn’t included, but it’s available if you ask. That makes a huge difference for long exposures and steadier framing.
- Camera settings and composition coaching: You’ll get help tuning the choices that control exposure and how your subject sits in the frame.
- Time to review and improve: One of the most praised elements in the feedback is the chance to review shots and then reset for better results, instead of rushing through the night.
If your camera settings intimidate you, don’t worry. The point is to practice and learn while you’re standing in front of the real scene. Kyoto’s night lighting is complicated, but that’s why being with a pro helps.
What $170 gets you (and when it’s worth it)
At $170 per person for about three hours, this isn’t a cheap add-on. The value is in the fact that you’re paying for private, skill-focused instruction—and not just a guided walk.
You’re also getting a professional photographer guide plus a licensed English-speaking in-person local guide. That combo matters: you get technical photo guidance and local routing knowledge that helps you spend time where your camera will actually benefit.
When it’s especially worth it:
- You want night photos that look deliberate, not random.
- You’re traveling with a camera and want to learn what to change for better results.
- You’d rather have focused coaching than a crowded group tour.
One small consideration: camera gear isn’t included. Bring your camera (and your usual lens setup), and if you want long exposures, plan for tripod support by requesting it ahead of time.
Who should book this Kyoto photo masterclass
This fits best if you:
- Want a private lesson with personalized feedback
- Care about night photography, especially long-exposure results
- Like Kyoto’s classic districts and want to photograph them with guidance on angles and lighting
- Prefer learning while walking rather than sitting in a classroom
It’s also a good choice if you’re at an intermediate level and want targeted tweaks. Even if you’re newer, the lesson structure is set up to help you understand how settings and composition affect what you see on screen.
Should you book? My quick decision guide
Book it if you want night photos with better control, not just more photos. The mix of local knowledge, professional coaching, and practice-focused timing is what makes this feel like real value.
Skip it (or at least reconsider the fit) if you’re only hoping for casual sightseeing pictures and you’re not ready to work with settings and composition. This is a photography lesson first, Kyoto walking tour second.
If you’re serious about improving, this is the kind of experience that can change how you shoot after dark.
FAQ
How long is the Kyoto Photography Masterclass?
It runs for about 3 hours.
Is this a private tour?
Yes. It’s private, and only your group participates.
What does the price include?
You get a local guide, a professional photographer guide, and a licensed English-speaking in-person local guide.
Do I need to bring a camera or tripod?
You should bring your own camera. A tripod is available upon request.
Where does the tour start and end?
It starts at the Statue of Izumo-no-Okuni in Kawabatacho, Higashiyama Ward, Kyoto, and it ends back at the meeting point.
Can I cancel for free?
Yes. Free cancellation is available up to 24 hours in advance of the experience start time for a full refund.
More Photography Sessions in Kyoto

More Private in Kyoto
More Tour Reviews in Kyoto
Just added: more Kyoto tours to browse


Photography Sessions, compared.
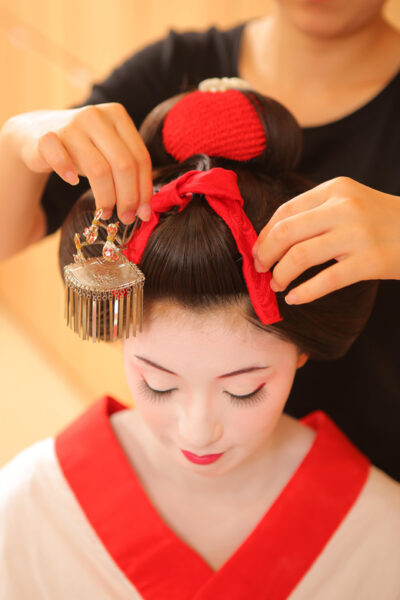 ★ 4.7Maiko Makeover and Photoshoot ExperienceFrom $140239 reviews
 ★ 5.0Private Photoshoot ServiceFrom $78158 reviews
 ★ 5.0Your Private Vacation Photography Session In KyotoFrom $297110 reviews
 ★ 4.9Tea Ceremony with Kimono and PhotoshootFrom $12790 reviews
 ★ 5.0Private Gion District Photoshoot ExperienceFrom $10979 reviews
 ★ 5.0Kyoto Tea Ceremony and Samurai Photo SessionFrom $7170 reviews
 ★ 5.0Private Photoshoot Experience in Kyoto ( Gion )From $13261 reviews
 ★ 4.9Kyoto Gion Kiyomizudera Kimono Yukata Hairstyle | PhotoshootFrom $2155 reviews
Browse the lists this tour appears in