
Reviewed · DESSERT TOURS
Japanese Traditional Sweets ”Nerikiri” making
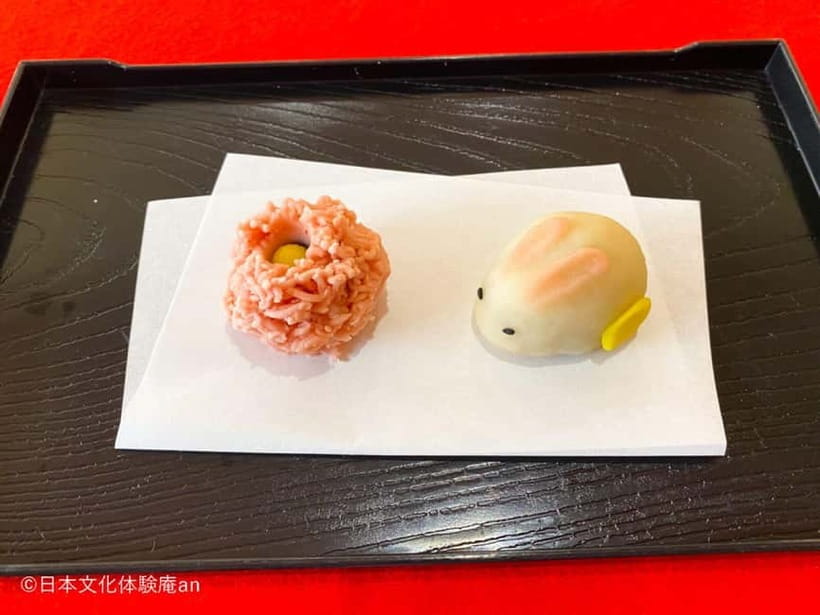
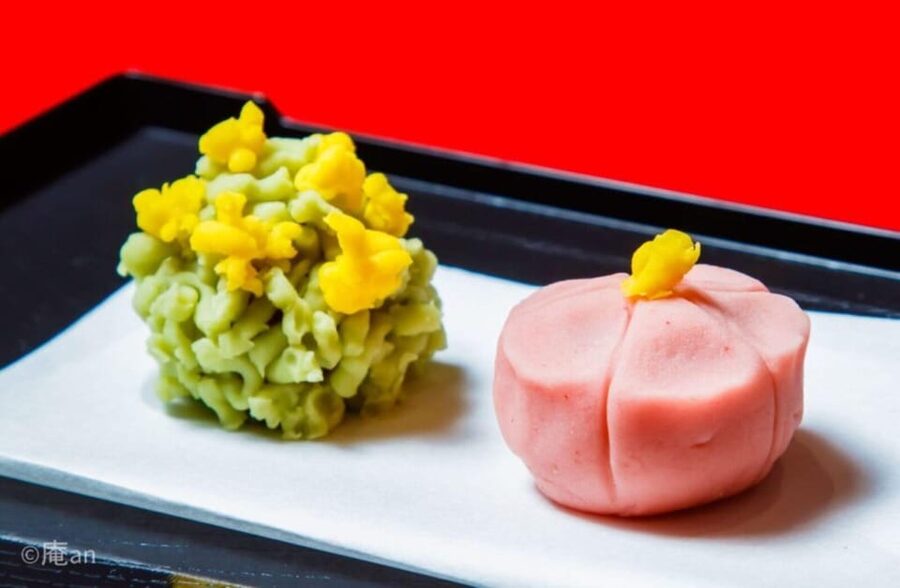
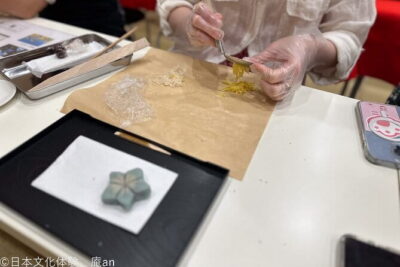
Nerikiri is edible art you can make. This hands-on Kyoto workshop has you shape seasonal wagashi and turn real bean paste into two finished sweets you’ll eat right there.
I really like the Kyoto-sourced bean paste and the clear, doable process that still feels special when you plate your creations. One watch-out: the class is in Japanese, and while English help is provided as much as possible, you may need to ask direct questions to get the finer technique tips you want.
Key highlights worth your attention
- Two seasonal Nerikiri: you’ll make 2 sweets, matching the season
- Kyoto bean paste: white/red bean paste from long-established shops
- Eat-on-the-spot payoff: you can taste what you create immediately
- Flower and Kinton styles: one is flower-shaped, plus a second Kinton Nerikiri
- Short, focused session: about 65 minutes from start to departure
- Close to transit: roughly a minute walk from Gojo Station exit 1
In This Review
- Where to Find the Nerikiri Workshop Near Gojo Station
- What Nerikiri Wagashi Is, and Why the Seasonal Part Matters
- 65 Minutes of Step-by-Step Sweet Making (Flower + Kinton)
- 1) Quick orientation and how to think about the craft
- 2) Flower-shaped Nerikiri making
- 3) Kinton Nerikiri making
- 4) Picture time and eating time
- A practical note on pace
- The Bean Paste Quality You’re Actually Working With
- Eating Your Nerikiri on the Spot (Yes, You Can Taste What You Made)
- Price and Extras: Is $11 Good Value in Kyoto?
- What to Expect From the Instructor Language Support
- Who This Workshop Is Perfect For (and Who Should Plan Ahead)
- Practical Tips for a Smooth Nerikiri Session
- Final Thoughts: Should You Book Nerikiri in Kyoto?
- FAQ
- What is the duration of the Nerikiri making experience?
- What will I make during the workshop?
- How much does it cost?
- What’s included in the price?
- Is there an option to take the sweets home?
- Can I eat the sweets during the workshop?
- Is matcha available to add on?
- Where do I meet for the workshop?
- Is the venue elevator accessible?
Where to Find the Nerikiri Workshop Near Gojo Station
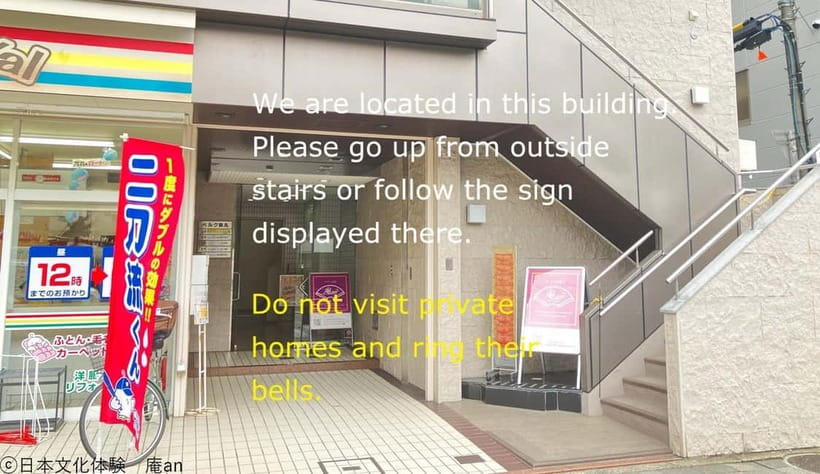
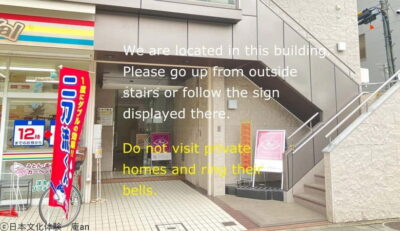
You’re not hunting around Kyoto for this one. The meeting point is just a 1-minute walk from Gojo Station (Karasuma Line), Exit 1. The storefront faces the main street (Gojo-dori), which makes it easier than many “look for a small sign” experiences.
If you’re using Google Maps, the coordinates line up at 34.99641932143154, 135.76180263178597, which is useful when streets get confusing around busy station exits. I’d still plan to arrive a little early, because the experience isn’t set up to pause for delays.
Accessibility is a mixed story. The workshop notes wheelchair accessibility, but the building has no elevator, and you’ll need to take stairs to reach each venue. If you’re bringing a wheelchair (or someone who needs minimal stair use), contact the property ahead of time so you’re not surprised on arrival.
What Nerikiri Wagashi Is, and Why the Seasonal Part Matters
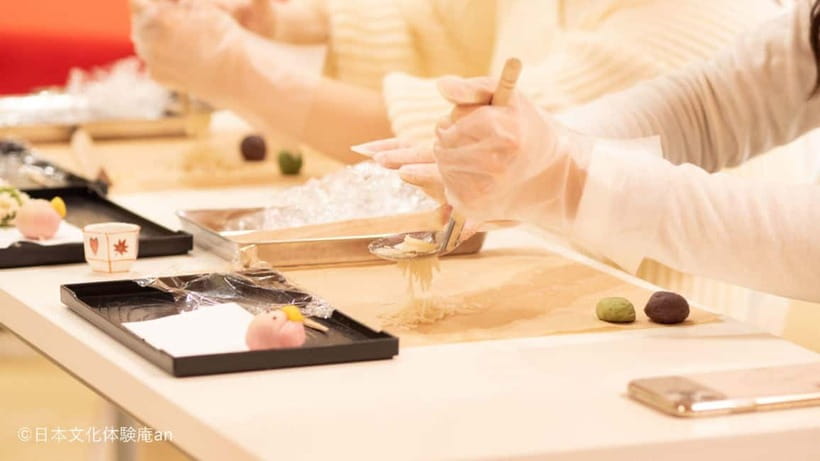
Nerikiri is one of Japan’s more “craft-forward” sweets. It’s not just a flavor-first dessert; it’s about shaping texture and form so the sweet looks right before you ever take a bite. In this workshop, that art-focus is exactly the point: you finish by placing your handmade Nerikiri on a plate, and that presentation step is part of what makes it feel like more than a cooking demo.
The seasonal matching isn’t a gimmick. When a wagashi theme follows the time of year, the shapes and colors tend to reflect what people are paying attention to in daily life—spring blooming, autumn tones, and so on. Here, you’ll make two sweets that match the season, which gives you variety even if you’ve tried wagashi before.
You’ll also hear basic explanations about traditional Japanese sweets before hands-on time begins. That short setup matters because Nerikiri is a technique sweet: once you understand the goal (smooth shaping, correct texture, pleasing form), the process feels more intuitive.
Other Kyoto tours and experiences to compare

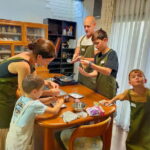
65 Minutes of Step-by-Step Sweet Making (Flower + Kinton)
The whole experience is designed to be focused and fast enough to fit into a Kyoto day. You’re looking at about 65 minutes total, including time to eat and leave.
Here’s how the session typically unfolds:
1) Quick orientation and how to think about the craft
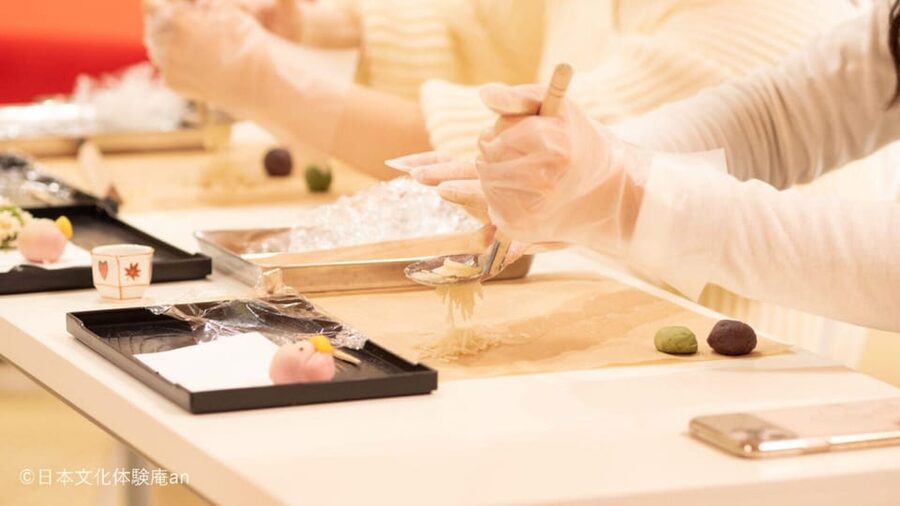
You start with an explanation of Japanese traditional sweets and what you’re going to make. Then you move directly into shaping. This is helpful if you’re not confident with hands-on activities, because the pace stays guided rather than open-ended.
2) Flower-shaped Nerikiri making
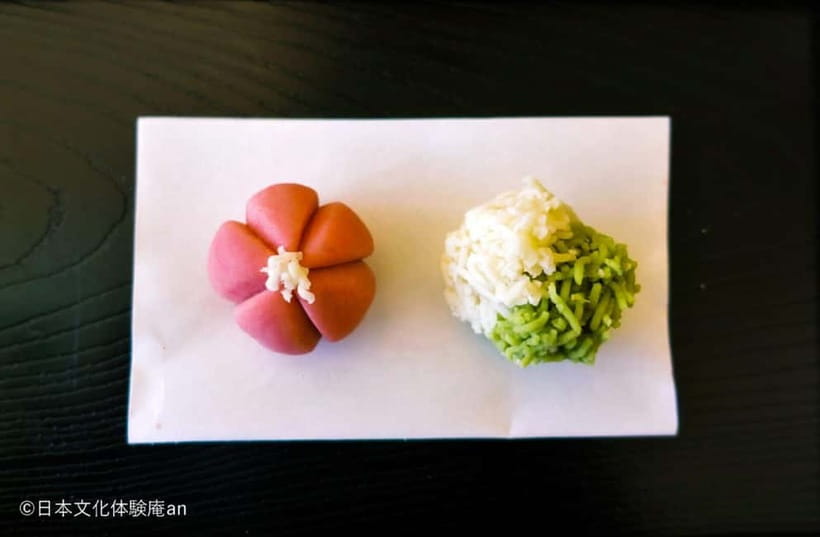
Your first sweet is a flower-shaped Nerikiri. Flowers are great training wheels for beginners because the goal is clear: create petals/segments and make the overall look intentional rather than rough.
3) Kinton Nerikiri making
Next comes Kinton Nerikiri. The second sweet gives you a chance to compare texture and shaping style. In practice, it also keeps the workshop from feeling repetitive. Once you’ve done the first one, the second becomes more about refining what you learned, rather than starting from zero.
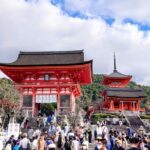

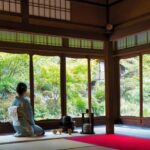
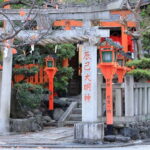
4) Picture time and eating time
After you finish shaping, there’s a picture time window, followed by the chance to eat the sweets on the spot. That “show it, then taste it” flow is important: you’re not rushing through, and you get to enjoy the results in both ways—visually and with your mouth.
A practical note on pace
The workshop won’t hold the event for delays. If you’re taking public transit, add buffer time so you don’t arrive at the last second and miss part of the session.
The Bean Paste Quality You’re Actually Working With
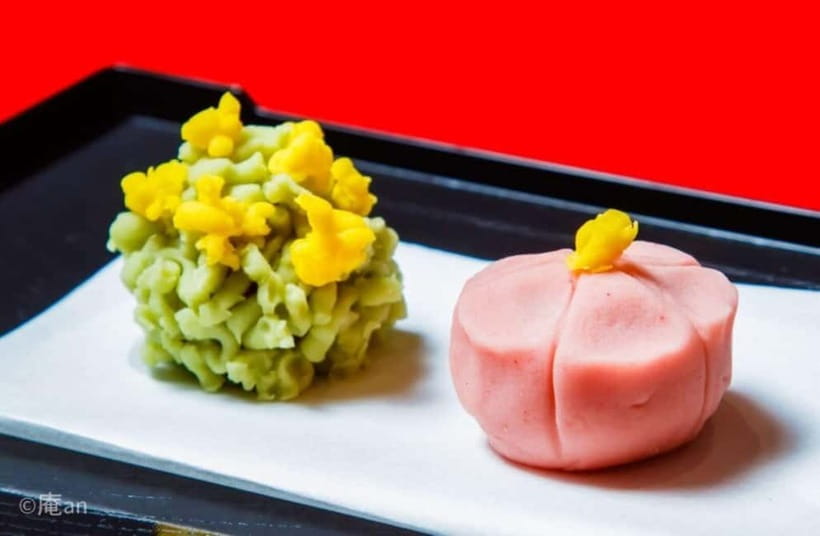
This class is built around real ingredients, not a simplified stand-in. You’ll work with white and red bean paste produced by Kyoto’s long-established shops. That matters because Nerikiri texture depends on the paste itself: how it feels in your hands and how smoothly it shapes.
For value, this is a big deal. Some food workshops are basically “decorate something pre-made.” Here, you’re shaping the sweet from paste, and the ingredient quality is presented as a key feature. That makes your finished Nerikiri taste more like what you’d expect from Kyoto wagashi rather than a generic craft snack.
Also, having two different sweets means you get more than one “taste check.” Even if the main flavors are similar, you’re likely to notice differences in how the shapes and thickness affect texture in your bite.
Eating Your Nerikiri on the Spot (Yes, You Can Taste What You Made)
This is one of the best parts: you’re encouraged to try your creations and eat them on-site. For a short workshop, that’s the payoff that makes the time feel worthwhile.
If you love food experiences where the result is edible immediately, this format works well. You get the satisfaction of making it, then you don’t have to think about refrigeration, packaging, or whether it will lose shape before you get back to your hotel.
If you want to pair it with something extra, there’s an option called tatedashi matcha for 500 JPY. If you’re already doing Kyoto’s tea culture later in the day, you might skip it. But if you want the full wagashi-and-tea feel, it’s an easy add-on.
Price and Extras: Is $11 Good Value in Kyoto?
The price is listed as $11 per person, and that’s for the guided Nerikiri experience. For your money, you’re getting:
- instruction and technique guidance for making wagashi
- ingredients to shape two seasonal sweets
- time to take photos and eat what you make
- the included experience package
That’s the main value story: you’re not just buying a dessert. You’re buying the labor, the ingredient, and the short “Kyoto craft” experience at a price point that’s hard to beat if you’d otherwise pay for two wagashi elsewhere.
Then there are optional add-ons:
- Sweets take-out box: 100 JPY
- Completion certificate: 300 JPY
- Tatedashi matcha: 500 JPY
I like keeping extras optional. If you’re traveling light, take-out boxes aren’t necessary because you can eat on the spot. If you’re the type who collects workshop certificates or want a keepsake, the certificate fee is there, but it won’t be required for the experience.
What to Expect From the Instructor Language Support
One consistent theme is that the instructor is Japanese. English translation is provided as much as possible, but it’s not marketed as fully bilingual.
In practice, that means you’ll likely get the core instructions and safety-of-the-process kind of help, but the “nitty gritty” of technique might depend on your questions and their ability to explain clearly in the moment. If you’re worried, the best approach is simple: ask one short question at a time, and be specific about what part you’re struggling with (shaping, texture, or getting a clean petal look).
Reviews also suggest the class can feel friendly and guided, even when English isn’t perfect. One thing I’d recommend: don’t expect the instructor to orbit your table constantly. Use the moments they check in to ask what you need, then continue with their guidance.
If you bring a calm, curious attitude, this workshop is the kind where language barriers matter less than you might think. You’ll be doing the work with your hands, and that visual feedback is powerful.
Who This Workshop Is Perfect For (and Who Should Plan Ahead)
This is a great fit if you want:
- a short Kyoto activity that still feels cultural and hands-on
- an edible craft you can finish in one sitting
- something approachable even if your Japanese is limited
It’s also a nice choice for mixed skill levels. Nerikiri is detailed, but the structure gives you a path. You’re guided through two specific styles, so you’re not stuck inventing your own technique.
Here’s who should plan ahead:
- If you have accessibility needs due to stairs (no elevator), contact the venue first.
- If you need very detailed English explanations, be ready to ask direct questions or bring a translation tool.
- If you’re late, the workshop may not be able to accommodate delays, so buffer time matters.
If you’re traveling with kids, this can work too, since it’s an activity with a visible result and an edible reward. Just remember you may be handling delicate shaping tasks; younger kids may need more help from parents at the table.
Practical Tips for a Smooth Nerikiri Session
These small habits make a difference in craft workshops:
- Go in with empty hands and a camera ready. There’s picture time, and your sweets look better when you slow down for a couple shots.
- Ask early if something feels off. Texture and shaping are easier to correct when you catch it while you’re still near the start.
- Don’t rush the plate moment. Even a simple arrangement looks right when you present the finished sweet carefully.
- Wear comfortable clothes. You’ll be shaping paste, so sleeves and cuffs that get in the way are annoying.
- Consider matcha if you want the full wagashi rhythm. The 500 JPY tatedashi matcha option is meant to pair with what you make.
If you’re adding this to a busy Kyoto day, pick a nearby dinner plan after. You’ll be able to eat the sweets right away, but the experience still takes over an hour when you include photo and departure time.
Final Thoughts: Should You Book Nerikiri in Kyoto?
If you want a Kyoto food experience that’s hands-on, visual, and genuinely enjoyable to eat, I’d book this. You’re getting two seasonal Nerikiri crafted with Kyoto-produced bean paste, and the best part is you don’t just leave with photos—you leave with something you can taste.
The main reason not to book is language expectations. The workshop is in Japanese, and while translation is provided as much as possible, you might not get every fine detail explained in English. If you’re okay with asking targeted questions and following guided steps, that drawback usually shrinks fast.
Also, if you like flexibility, the booking option includes reserve now & pay later, and cancellation is offered up to 24 hours in advance for a full refund. That makes it easier to fit into a day that might change.
Overall: this is a smart, value-friendly way to experience Kyoto wagashi culture without it turning into a long, complicated outing.
FAQ
What is the duration of the Nerikiri making experience?
The experience lasts about 65 minutes, including time to eat the sweets and depart.
What will I make during the workshop?
You will make two Japanese traditional sweets called Nerikiri. The sweets are seasonal, and the program includes a flower-shaped Nerikiri plus Kinton Nerikiri.
How much does it cost?
The price is listed as $11 per person.
What’s included in the price?
You get the full set of the Nerikiri making experience. That covers the hands-on workshop where you make the two seasonal sweets.
Is there an option to take the sweets home?
Yes. A sweets take-out box is available for 100 JPY.
Can I eat the sweets during the workshop?
Yes. You can eat the sweets on the spot.
Is matcha available to add on?
Yes. Tatedashi matcha is available for 500 JPY.
Where do I meet for the workshop?
Meet about a 1-minute walk from Exit 1 of Gojo Station on the Karasuma Line. The entrance faces Gojo-dori.
Is the venue elevator accessible?
There is no elevator in the building, and you will need to take stairs to reach each venue, even though the activity is listed as wheelchair accessible.
More Dessert Tours in Kyoto
More Tour Reviews in Kyoto
Just added: more Kyoto tours to browse




Dessert Tours, compared.
 ★ 4.4Japanese Traditional Sweets Making and Tea CeremonyFrom $18314 reviews
 ★ 5.0Kyoto Wagashi(Japanese sweets) Cooking Class near FushimiinariFrom $7960 reviews
 ★ 5.0Wagashi (Japanese sweets) Cooking near FushimiinariFrom $8440 reviews
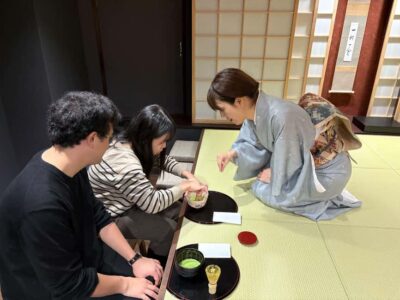 ★ 4.9Traditional Tea Ceremony with Matcha & Sweets in GionFrom $2227 reviews
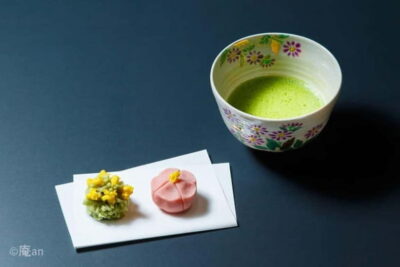 ★ 4.62 Types of Japanese Sweets making and Tea CeremonyFrom $2817 reviews
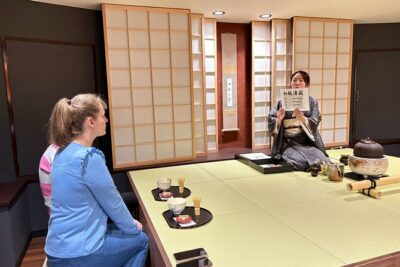 ★ 5.0Traditional Tea Ceremony with Matcha and Sweets in KyotoFrom $2213 reviews
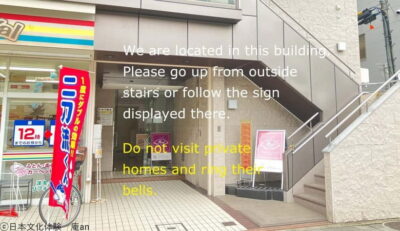 ★ 4.3Japanese Traditional Sweets making with Tatedashi MatchaFrom $146 reviews
 ★ 3.0Japanese Traditional Sweets makingFrom $123 reviews
Browse the lists this tour appears in