
Reviewed · KYOTO SAMURAI & NINJA EXPERIENCES
Kyoto: Forge Your Own Ninja Weapon with Japanese Tin Casting
Kyoto has a sweet spot for hands-on crafts, and this tin-casting workshop hits it. You’ll design a classic ninja item and then work through real metal steps, from mold-making to polishing, with clear guidance from staff like Daiki and his colleagues. I love that you’re not making a wall decoration or a paper craft—you’re shaping metal—and I also like that you get a finished, gift-ready keepsake in a dedicated box. The main thing to plan for: you’re working with molten tin and tools, so it isn’t for anyone who feels unsafe around heat, and kids need guardian supervision.
The location is practical too. The studio is about a 3-minute walk from Demachiyanagi Station, so it fits easily between sightseeing blocks. You can choose between shuriken, kunai, and an oni-inspired mask, with extra options for added detail and display features.
If you hate being rushed, aim for flexibility. The shuriken/kunai sessions run around 2 hours (150 minutes max), while the oni mask option is about 2.5 hours, and timing can vary a bit.
In This Review
- Key highlights at a glance
- Kyoto tin casting: what you’re really doing
- Choosing your ninja item: shuriken, kunai, or an oni mask
- From casting sand to your final shape: the step-by-step flow
- 1) Make the mold using special casting sand
- 2) Melt the tin and pour it into the mold
- 3) Cool the metal in water
- 4) Shape and hammer (then refine)
- 5) Protect against rust and finish with oil
- Oni mask upgrades: gold leaf and a cord option
- Duration and pacing: how long it takes in real life
- Where the studio is: Demachiyanagi Station convenience that matters
- What’s included (and why that’s part of the value)
- Price: is $103 a fair deal for this kind of souvenir?
- Photos, videos, and the joy of showing off
- Who should book this workshop (and who might skip it)
- Small rules to know before you go
- Booking checklist: what to decide before you arrive
- Should you book the Kyoto ninja tin casting workshop?
- FAQ
- What ninja weapons or items can I make in this workshop?
- How long does each option take?
- How close is the studio to public transportation?
- Is the workshop beginner-friendly?
- What should I bring with me?
- What are the limits on weapon size and take-home format?
Key highlights at a glance
- Make a real ninja weapon from tin (shuriken, kunai, or oni-inspired mask), not a lightweight replica
- Go hands-on from mold to finish, including cooling, shaping, and polishing steps
- Watch molten tin become your piece, since tin melts around 230°C
- Choose upgrades for detail (kunai option and oni mask option with extra effects like gold leaf)
- Leave with a boxed souvenir you can actually feel proud of (8–10 cm size range)
Kyoto tin casting: what you’re really doing
This workshop is built around a simple promise: you’ll create a tangible ninja-style object using a traditional Japanese tin-casting workflow. Tin is used because it melts at a relatively low temperature (about 230°C), which makes the process manageable in a controlled studio setting. You’ll still go through the same sequence that metalworkers use—make the form, cast the metal, then refine the final shape.
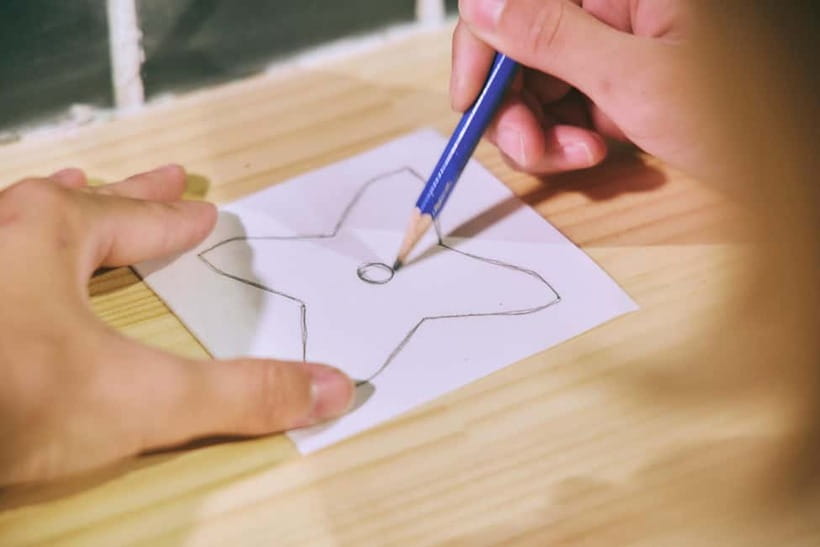
That matters for your experience. If you’ve done crafts where you mostly decorate something pre-made, this will feel different. Here, the work is physical and sequential: you’ll form the mold in casting sand, pour the melted tin, let it cool, and then do the finishing work that turns a rough casting into something you’d actually want to photograph.
Pick up the blade again with these Kyoto sessions

Choosing your ninja item: shuriken, kunai, or an oni mask
You start by selecting what you want to forge. The options are:
- Shuriken
- Kunai (with an optional upgrade path)
- Oni mask (also available with optional upgrades like gold leaf and a cord)
Each choice changes the feel of the workshop. A shuriken or kunai leans into crisp geometry and sharper edges once you smooth and refine the metal. The oni mask adds a more dramatic, character-driven result. If you’re going with a group, this is also a nice way to avoid everyone making the same thing—different designs means different textures, finishing patterns, and overall look.
Size is set: your finished piece will be about 8–10 cm. That’s a helpful expectation for planning how it will fit into your day and your luggage. It’s small enough to carry home, but big enough to feel substantial.
From casting sand to your final shape: the step-by-step flow
What makes this workshop satisfying is that the steps are clear and repeatable. Even if you’ve never worked with metal before, the process is broken into stages, and you’re guided along the way.
1) Make the mold using special casting sand
You’ll build a detailed mold in professional casting sand. This is where your design choices start to become real. The sharper your mold shape is, the cleaner your casting tends to look later. It also means you’re not just watching instructions—you’re making decisions that affect the end result.
2) Melt the tin and pour it into the mold
Tin melts at 230°C, and in the workshop it’s handled with supervision. You’ll pour the molten tin into your mold as part of the hands-on experience. This is the part most people remember, because it’s the moment the workshop goes from planning to creation.




3) Cool the metal in water
After pouring, the metal is rapidly cooled in water. Cooling quickly helps the piece set into its intended shape. You’ll then move on from the fragile stage (the raw casting) to the refining stage.
4) Shape and hammer (then refine)
In the included process, you’ll shape the piece by hammering and then smooth it using files. Some sessions also mention grinders for detailed refinement, so you can expect a move from rough edges to a more polished surface. This stage is where your piece transforms into something that looks intentional instead of accidental.
5) Protect against rust and finish with oil
Metal can tarnish, so the workshop includes rust prevention and finishing. You’ll soak the piece in a rust-preventive solution and then coat it with special oil. This is a practical, value-added step. It’s also why the final piece looks better in photos—you get that finished, handled-with-care look instead of bare metal that dulls quickly.
Oni mask upgrades: gold leaf and a cord option
If you pick the oni mask, there are additional steps. You may apply gold leaf for dramatic accenting, and you can choose a cord so the mask is wearable or display-ready. That upgrade is worth thinking about if you want something that functions beyond a desk ornament.
Duration and pacing: how long it takes in real life
Expect two standard time blocks:
- Shuriken / Kunai: about 2 hours
- Oni mask: about 2.5 hours
Because completion times can vary, I recommend building a little slack into your schedule. This is especially smart if you’re pairing it with other Kyoto stops that require walking between areas. The workshop is close to transit, but your day will still feel smoother if you’re not sprinting across the city.
Where the studio is: Demachiyanagi Station convenience that matters
The studio is a short walk—about 3 minutes—from Demachiyanagi Station. That makes a big difference in Kyoto, where transport connections are good but time evaporates when you’re switching neighborhoods.
Practical tip: go into the workshop without rushing your arrival. Even if you’re excited, taking a calm approach helps you focus on the early steps (mold-making and pouring), where paying attention is what gives you a cleaner final weapon or mask.
What’s included (and why that’s part of the value)
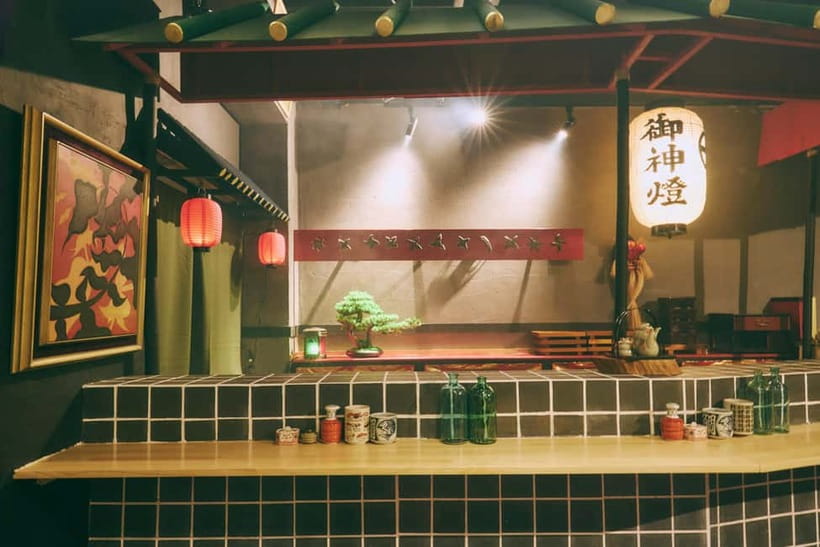
You’re not paying just for instruction. The package includes the materials and the key work steps, including:
- Design the item you want to make
- Mold-making
- Melting and casting the tin
- Shaping by hammering
- Smoothing with a file
- Soaking in a rust-preventive solution
- Coating with protective oil
- Apron and equipment rental
- Materials for one weapon (and a dedicated box)
That “dedicated box” detail isn’t fluff. It helps you transport your piece without immediately worrying about scratches, dust, or where to store it in your bag. For many Kyoto souvenirs, you end up with something pretty but fragile. Here, the finishing steps are part of the experience—and part of the cleanup.
Price: is $103 a fair deal for this kind of souvenir?
At $103 per person, this isn’t the cheapest thing you can do in Kyoto, but it also isn’t a premium artisan product you can’t replicate. You’re paying for a staffed, hands-on metalwork session where you:
- Use real materials and tools
- Do the labor yourself (casting, shaping, finishing)
- Receive the end product (8–10 cm) in a proper box
If you’re comparing it to buying a store-bought ninja item, the value isn’t only the look. It’s the fact that you leave with something you made through a full process—from mold and molten metal to rust protection and oil finish. That’s the kind of souvenir that stays interesting when you’ve seen your thousandth shrine photo.
Photos, videos, and the joy of showing off
This workshop is designed in a way that supports capturing the process. You’ll be able to photograph and record your crafting moments, which is great if you like to document what you made rather than only where you were.
Also, when you finish, you’ll have a tangible object you can actually show at dinner. People often remember the moment they poured the tin and turned it into a piece they can hold. That’s a storytelling souvenir.
Who should book this workshop (and who might skip it)
This is a strong fit if you want a hands-on craft day that still feels distinctly Japanese. I especially think it works well for:
- Adults who want one practical activity instead of another museum stop
- Families with older kids (the workshop says children can participate with assistance, and under 15 must have a guardian)
- Anyone into ninja history as pop culture who also likes real-making, not just costumes
Age limits are real: it’s listed as not suitable for children under 5, and it’s also not suitable for babies under 1 or people over 95.
If you’re sensitive to heat or prefer very low-tool crafts, you might find metalwork less comfortable. The workshop includes safety supervision, but it’s still hands-on work with molten tin.
Small rules to know before you go
A few studio rules help you plan smoothly:
- No smoking
- No food and no alcohol
- No alcohol and drugs (so don’t plan on pairing it with drinking)
- Making fire isn’t allowed
- Bring drinks, since there is no water provided
The “no water” note is the one I’d take seriously. Bring a bottle or a few small drinks so you don’t have to choose between hydration and finishing your piece.
Booking checklist: what to decide before you arrive
To get the best experience, decide these things ahead of time:
- Which item you want: shuriken, kunai, or oni mask
- Whether you want the oni mask upgrades (including gold leaf and cord)
- Plan your day so you’re not cutting it too close before the session ends
- Bring your own drinks, since the workshop notes there’s no water
And if you’re a first-timer, don’t overthink your design. The mold-making and finishing steps are where staff guidance helps you succeed.
Should you book the Kyoto ninja tin casting workshop?
If you want a Kyoto souvenir that feels earned, this is a solid choice. You get a guided, step-by-step process that ends with a finished metal piece in your hands, plus practical finishing that helps it last. It’s also conveniently located near Demachiyanagi Station, which makes it easier to fit into a travel schedule without losing half your day to transit.
I’d skip it only if you know you won’t enjoy tool work or you’re uncomfortable with the idea of working around molten metal, even with supervision. Otherwise, this is one of those activities that turns into a story you’ll keep telling long after your Kyoto photos fade.
FAQ
What ninja weapons or items can I make in this workshop?
You can choose from a shuriken, a kunai, or an oni-inspired metal mask.
How long does each option take?
Shuriken and kunai take about 2 hours. The oni mask option takes about 2.5 hours.
How close is the studio to public transportation?
The studio is about a 3-minute walk from Demachiyanagi Station in Kyoto.
Is the workshop beginner-friendly?
Yes. It’s suitable for beginners and children with staff assistance.
What should I bring with me?
Bring drinks. The activity notes that there is no water, so having something to drink helps.
What are the limits on weapon size and take-home format?
The finished piece is about 8–10 cm, and each weapon comes with a dedicated box.
More Tour Reviews in Kyoto
More Samurai and Ninja Sessions

Just added: more Kyoto tours to browse







Kyoto Samurai & Ninja Experiences, compared.
 ★ 5.0Kyoto Samurai ExperienceFrom $1191,294 reviews
 ★ 4.9Kendo and Samurai Experience with Uniform and GearFrom $103815 reviews
 ★ 4.9Samurai Sword Class by Experts in Traditional ArtsFrom $64657 reviews
 ★ 4.5Skip the lines Basic Ticket at SAMURAI NINJA MUSEUM KYOTOFrom $28632 reviews
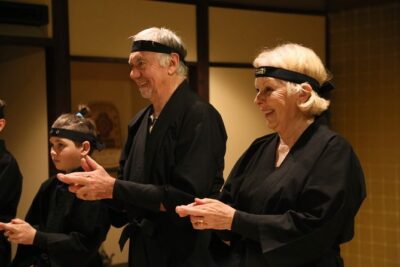 ★ 5.0Ninja 1-hour Hands-on Lesson by Japanese master in Kyoto -EntryFrom $80489 reviews
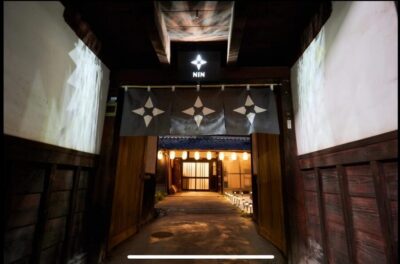 ★ 4.8Ninja Weapon Forging ExperienceFrom $148478 reviews
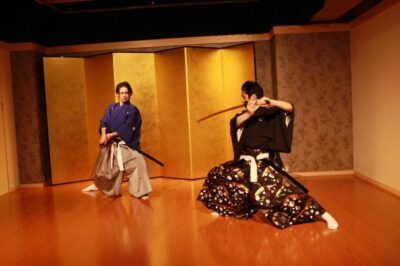 ★ 4.5Samurai Kenbu Traditional Sword Dancing ShowFrom $32426 reviews
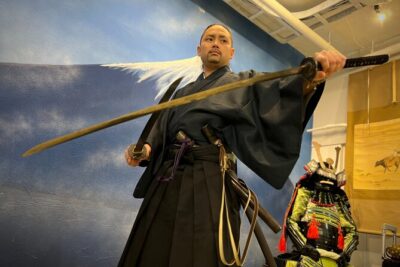 ★ 5.0Samurai Training with Modern day Musashi in KyotoFrom $132256 reviews
Browse the lists this tour appears in