
Reviewed · KYOTO CRAFT & CALLIGRAPHY WORKSHOPS
Let’s make Japanese accessories with Mizuhiki
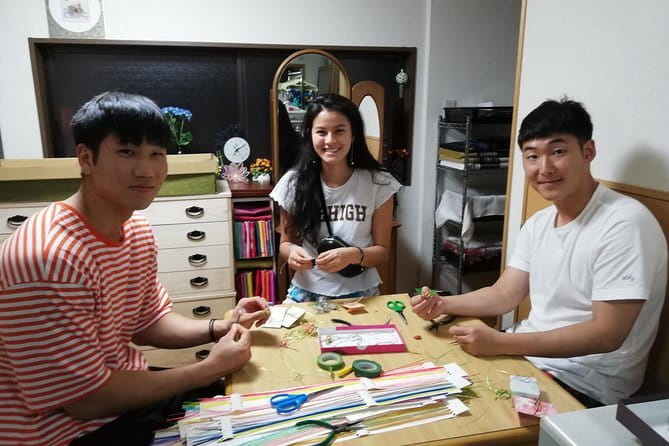
Paper cords, perfect gifts, and a calm hour in Kyoto. This Mizuhiki class at RakueJapan turns traditional Japanese paper-wrapped string into wearable accessories and ornaments, step by step. You even practice the core knot before you move on to your own design choices, so it feels more like learning a skill than just making a souvenir.
I like two things a lot: the class starts with the practical foundation of the Abalone knot, and you end with a real break—matcha and sweets—so your brain has time to reset after focused handwork. It’s also easy to see how this becomes a repeatable gift idea, not just a one-and-done craft.
One consideration: the materials are included, but if you want to keep making similar items at home, you’ll likely need to source extra supplies later, since metal fittings for home crafting aren’t included.
In This Review
- Key highlights you’ll actually care about
- Mizuhiki at RakueJapan: paper cord craft for everyday gifts
- The 60-minute flow: pochi bag, abalone knot, then your chosen accessory
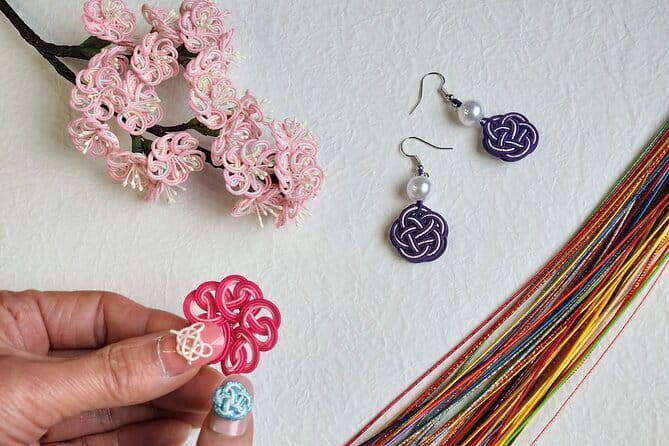
- Choosing your design: strawberry straps, floral pieces, mini baskets, and earrings
- Matcha and sweets: the small break that makes the knotwork feel easier
- Price and value: what you get for $19.60 and what you supply later
- Logistics that won’t distract you: where to go and how to plan your timing
- Tips to make your mizuhiki look neat (without getting stressed)
- Who this Kyoto mizuhiki class is best for
- Should you book Japanese accessories with Mizuhiki in Kyoto?
- FAQ
- How long is the Mizuhiki workshop?
- What’s included in the price?
- Is the class private?
- What do I need to bring?
- Where is the meeting point?
- Do I get a ticket on my phone?
- Is there free cancellation?
Key highlights you’ll actually care about
- Mizuhiki basics first: you practice the knot with string before tying it onto your finished piece
- Choose your accessory from samples: options include things like earrings, hair ornaments, and mini basket-style items
- Guidance from Akemi-style instruction: patient, step-by-step coaching is part of how this workshop runs
- A true Kyoto pause: matcha and sweets are built into the end of the experience
- Works get posted: your finished piece may appear on the RakueJapan Instagram account (rakue9)
- Private class format: it’s only your group, so you can move at your pace
Mizuhiki at RakueJapan: paper cord craft for everyday gifts
Mizuhiki is one of those Japan traditions that sounds fancy until you see how hands-on it really is. It’s thin, twisted paper wrapped around string-like cord, and it’s famous for how it turns simple material into a tidy, meaningful gift. In Japan it has long been used in rituals and for tying envelopes that hold money for celebrations.
This class leans into that practical side. You’re not memorizing a long history lesson. You’re learning knots you can use to create cute accessories and ornaments that look like they belong in a Kyoto gift shop—without the generic vibe.
I also like the feel of the workshop: it’s set up to help you concentrate. Once you start winding and tying, the outside world fades a bit, and that’s when craft learning clicks.
Make something by hand in a Kyoto workshop
The 60-minute flow: pochi bag, abalone knot, then your chosen accessory
The session is about one hour, and it moves in clear stages. You’ll go from setup and basic knot practice into making the item you actually want to wear or gift.
Here’s how the workshop is structured:
1) Pick colored paper for your pochi bag (mini bag)
You start by choosing colored paper to build a small pouch-style base. This matters because your later accessory look depends on that color choice, and you get to make it personal instead of picking from one pre-made sample.
2) Tie the basic Abalone knot onto the pochi bag
Next, you attach the signature knot to your bag. The goal here is to learn the technique in a real context, not just to tie a knot in the abstract. The abalone knot is a classic look in mizuhiki styling, and it’s the foundation for a lot of decorative pieces.
3) Practice the Abalone knot with just a string
After you try it on your project, you practice again with a string. That second round is important. If your first knot is a little uneven, the string practice lets you fix tension and shape without worrying about ruining your finished item.
4) Select your accessory from the sample set
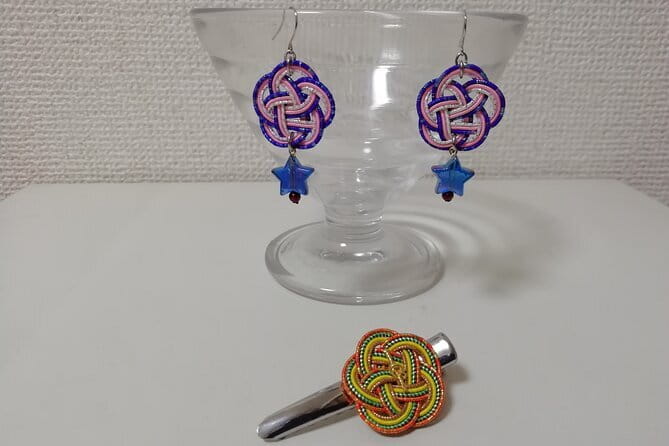
Then you choose what you want to make. The workshop uses example pieces as a guide, so you can match what you’re aiming for—like straps shaped like strawberries, floral hair ornaments, cute earring designs, or mini-basket styles.
5) Tie different mizuhiki pieces to build your final accessory
At this point, you’re no longer just learning a knot. You’re using that knotwork as part of a design. Some sessions also cover extra knot styles like leaf and flat plum-style knots, depending on what you select and how far you progress.
6) Finish with matcha and sweets
You wrap up with a short break. You’ll be able to relax while your brain processes what you just learned and how your piece came together.
The big value here is that the timeline is compact but not chaotic. It’s a tight hour, but the steps are staged so you don’t feel lost mid-project.
Choosing your design: strawberry straps, floral pieces, mini baskets, and earrings
What I like about this class is the way it bridges “traditional technique” with “Kyoto souvenir energy.” The sample set makes it clear you can end up with something cute enough to wear or give immediately.
Based on what the workshop offers, you might make items like:
- straps shaped like strawberries
- floral hair ornaments
- cute earrings
- mini basket style accessories
If you’re picky about aesthetics, this is a plus. Kyoto is full of pretty things, but it’s easy to buy something that feels generic. Here you pick the outcome, and you’re actively constructing it.
Also, the instruction style seems to be designed for real beginners. People doing the class one-on-one have been able to create detailed-looking designs with the teacher guiding them through the knot steps and correcting technique as they go. In particular, Akemi is named as the instructor who demonstrates the basic knot and then walks through additional knot variations like leaf and flat plum-style knots.
That matters because mizuhiki doesn’t look difficult in photos. Up close, the shape depends on tension and consistency. Good coaching turns that from frustrating into manageable.
Matcha and sweets: the small break that makes the knotwork feel easier
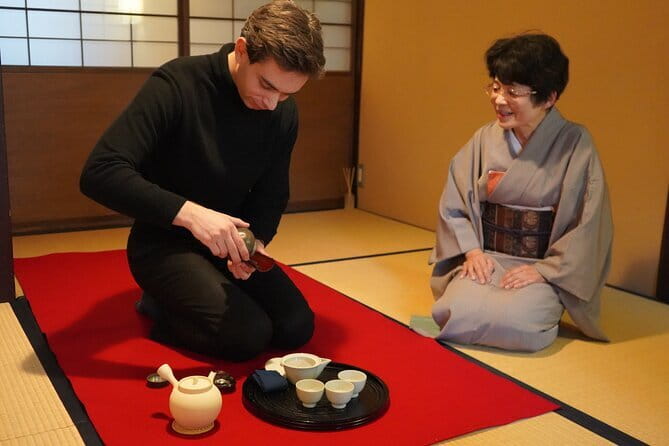
This is not a craft class that snatches your attention and keeps it hostage until the end. The workshop includes snacks—matcha and sweets—after the making part.
Why that’s a big deal: knotwork is fine-motor work. Your fingers get tired even if you’re enjoying it. A short break helps you regain comfort in your hands, which is useful if you want to tidy your final piece before you leave.
It also gives the experience a distinctly Kyoto rhythm. You’re not just producing an object. You’re sitting with it for a moment, then leaving with something you can actually show people without rushing.
Price and value: what you get for $19.60 and what you supply later
At $19.60 per person, this class is priced like a true activity, not a material-only workshop. The cost makes sense because you get several things bundled together:
Included:
- material for the project
- matcha and sweets
Not included:
- mizuhiki for non-gift items and metal fittings for making them at home
That last line is easy to miss, so here’s the practical translation. You’ll likely be fine during the class because the workshop provides what you need to complete your chosen design. But if you fall in love with mizuhiki and want to keep going at home, you may need to purchase additional supplies—especially metal fittings—depending on what you want to make.
So the value isn’t just the craft. It’s the teacher support plus the snack reset plus the fact that you leave with something you didn’t have to source or figure out from scratch.
A couple other planning notes:
- You’ll get a mobile ticket.
- Confirmation happens at booking.
- This is a private tour/activity, meaning only your group participates. That matters if you don’t want to feel rushed or watched by strangers while you learn a knot.


Logistics that won’t distract you: where to go and how to plan your timing
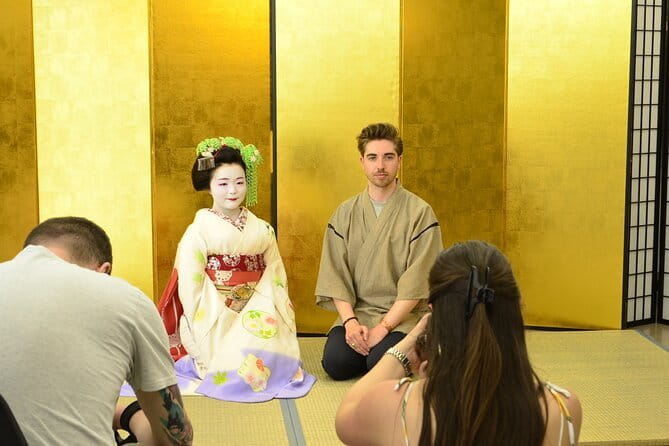
The class starts and ends at the workshop location: RakueJapan, 600-8481 Kyoto, Shimogyo Ward, Shijōhorikawachō 255, Nomura Building 2F. It’s listed as being near public transportation, so it’s not the kind of hidden maze route you can miss.
As for timing, the experience runs about an hour. That’s good news if you’re juggling a Kyoto day already packed with temples and food stops. It’s also a popular activity, so you’ll want to book ahead—one detail noted that it’s commonly reserved roughly a month in advance on average.
If you’re trying to fit an earlier session, contact the operator as soon as possible so they can increase the reservation frame.
Tips to make your mizuhiki look neat (without getting stressed)
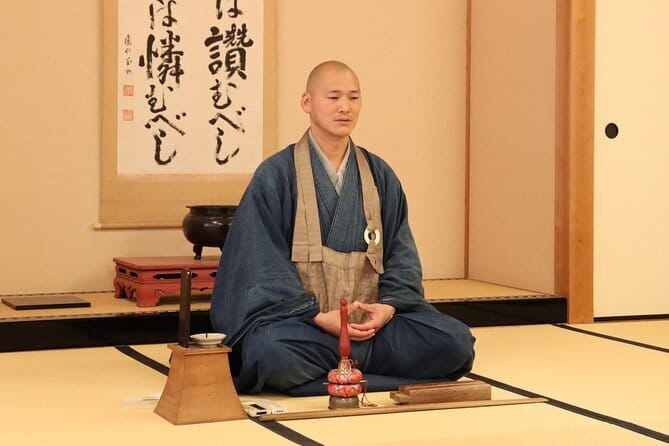
You can’t control everything, but you can control how you approach the first knot. A few tactics help a lot in a short workshop like this.
Slow down at the Abalone knot stage.
If the foundation is clean, the decorative part looks better even if you’re not super fast.
Treat the string practice as the real lesson.
The workshop’s workflow includes practicing with just a string, and that’s where you should focus on tension and consistency. Don’t rush through the practice because you’re eager to start the “cute” part.
Choose a design you feel comfortable repeating.
If you want to make gifts again later, pick an accessory style that uses knots and shapes you can recognize and rebuild at home.
Ask to correct early.
When instructors guide you through the knot, it’s usually easiest to fix small issues quickly. Waiting tends to make a knot look more uneven, and you end up spending extra time adjusting.
Use the snack break strategically.
After matcha and sweets, check your finished piece and make small tidy touches if needed. It’s easier to fix after a short pause than while your hands are tired.
Who this Kyoto mizuhiki class is best for
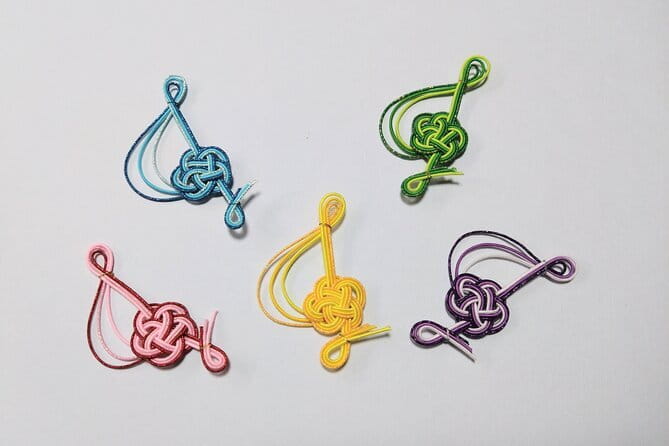
This is a great fit if you want a Kyoto souvenir with real technique behind it. It’s also ideal if you’d rather spend an hour learning something local than just walking into another shop.
It works well for:
- Beginners who want a guided start and a short learning curve
- People who like making gifts rather than buying them
- Couples or friends who want a shared activity in a calm setting
- Anyone who wants a wearable craft like earrings or hair ornaments
It can also be a nice add-on to a day with traditional sightseeing. One review-style note mentions that you can rent kimono at the shop, so if you’re in that mood, you might combine wardrobe plans with this craft session.
And because it’s private, it tends to feel less like a class and more like a focused creative hour.
Should you book Japanese accessories with Mizuhiki in Kyoto?
If you want a Kyoto experience that’s hands-on, culturally rooted, and genuinely giftable, I’d say yes. The class is short, but it teaches core knots like the Abalone knot, gives you a chance to practice, and then lets you build a cute accessory you actually chose.
Book it especially if:
- you want something better than a mass-produced souvenir
- you like crafts where a small skill makes a big visual difference
- you enjoy learning through doing, not through lectures
Skip it or adjust expectations if:
- you’re only interested in finishing metal jewelry right away and you don’t want to deal with extra supplies for home crafting (metal fittings aren’t included for home making)
- you prefer very long classes where you can iterate multiple designs (this one is about an hour)
Overall, this is a solid value: materials and the matcha-and-sweets break are included, you get private instruction, and you walk away with a piece that looks like Kyoto—because you made it that way.
FAQ
How long is the Mizuhiki workshop?
It runs for about 1 hour.
What’s included in the price?
Material for the craft and snacks (matcha and sweets) are included.
Is the class private?
Yes. It’s a private activity, and only your group participates.
What do I need to bring?
The materials for the workshop are provided. Mizuhiki for non-gift items and metal fittings for making things at home are not included.
Where is the meeting point?
You meet at RakueJapan, 600-8481 Kyoto, Shimogyo Ward, Shijōhorikawachō 255, Nomura Building 2F. The activity ends back at the meeting point.
Do I get a ticket on my phone?
Yes, it includes a mobile ticket.
Is there free cancellation?
Yes. You can cancel for a full refund up to 24 hours in advance. If you cancel less than 24 hours before the start time, the amount paid is not refunded.
More Tour Reviews in Kyoto
More Kyoto Workshops to Try


Just added: more Kyoto tours to browse






Kyoto Craft & Calligraphy Workshops, compared.
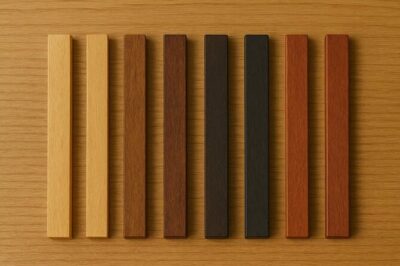 ★ 5.0Chopsticks Making Workshop in Gion with Engraving OptionFrom $15958 reviews
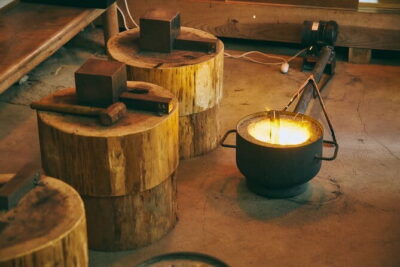 ★ 4.8Authentic knife making experience at a blacksmith in KyotoFrom $154350 reviews
 ★ 5.01-Hour Japanese Archery Experience in KyotoFrom $46176 reviews
 ★ 5.0Calligraphy class at Buddhist temple in city centerFrom $55167 reviews
 ★ 5.0Roketsu dyeing experience: M course Roketsu Dyeing ExperienceFrom $25163 reviews
 ★ 4.9Japanese Archery Workshop with Experienced InstructorFrom $38132 reviews
 ★ 4.8Japanese Calligraphy ClassFrom $5189 reviews
 ★ 5.0TAIKO, Japanese Drum Experience from KyotoFrom $11586 reviews
Browse the lists this tour appears in