
Reviewed · KYOTO CRAFT & CALLIGRAPHY WORKSHOPS
Kyoto: Sumi Ink and Brush Calligraphy Experience
Sumi ink has a way of slowing you down. In this Kyoto class, you grind sumi ink on a suzuri inkstone, then paint bamboo and finish with brush calligraphy on a shikisi board. It is simple, hands-on, and quietly satisfying in a way that feels very Japanese.
What I like most is the time you spend on the process, not just the end result: grinding gives you fragrance and different ink hues. I also love the pace and format for beginners, with a small group (limited to 6) and step-by-step brush practice before you commit to your board.
One thing to think about: the activity is listed as wheelchair accessible, but it also says it is not suitable for wheelchair users or people with mobility impairments. If mobility is an issue, confirm with the provider before you book.
In This Review
- Key highlights you should care about
- Sumi Ink and Brush Calligraphy in Kyoto: What You’re Really Getting
- Grinding Sumi Ink on a Suzuri: The Part That Sets the Tone
- Brush Practice You Can Use Later: Soku-hitsu and Choku-hitsu
- Drawing Bamboo on a Shikisi Board: Simple Subject, Good Results
- Writing 竹 and 和: The Calligraphy Finish That Makes It Personal
- Indoors, Timing, and the Class Flow: What a 50-Minute Session Feels Like
- Tools Provided, Transportation Not Included: What You’ll Want to Plan
- Price and Value: Is $49 Worth It for a Take-Home Board?
- Who This Is For (and Who Should Recheck Fit)
- Practical Tips to Get the Best Results
- Should You Book This Kyoto Calligraphy Experience?
- FAQ
- How long is the Kyoto Sumi Ink and Brush Calligraphy experience?
- What is the price per person?
- Where is the meeting point?
- Is prior calligraphy experience required?
- What languages are the instructors?
- What tools are included in the class?
- Is pre-made sumi ink provided?
- Can I take my artwork home?
- What should I bring with me?
- Is it suitable for wheelchair users?
Key highlights you should care about
- Grind your own sumi ink on a suzuri inkstone, using water to make the ink feel and smell right
- Learn brush technique in two modes: soku-hitsu (side of the brush) and choku-hitsu (upright brush)
- Draw bamboo on a shikisi board using what you practiced, not just copying a sample
- Write kanji next to your bamboo: 竹 (bamboo) and 和 (harmony)
- Take your finished shikisi board home as a souvenir you can actually display
Sumi Ink and Brush Calligraphy in Kyoto: What You’re Really Getting
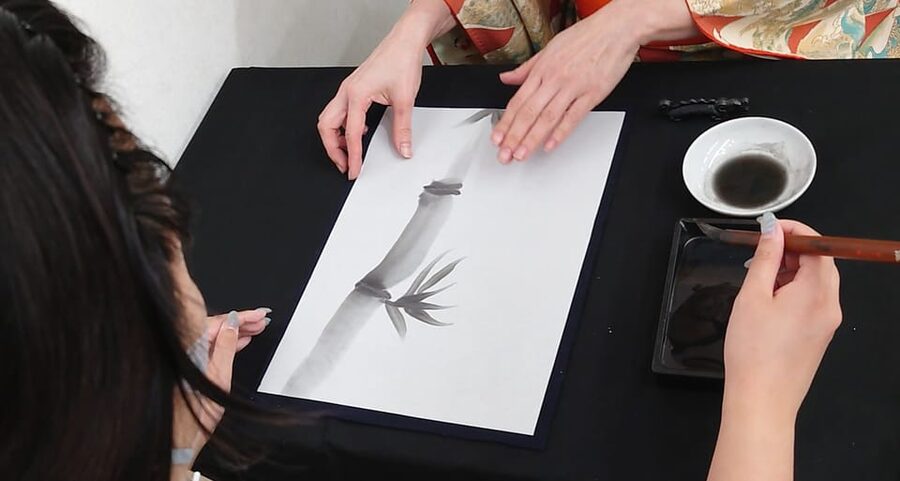
This is a 50-minute, indoor calligraphy experience built around one idea: the beauty is in controlled movement. You start with sumi ink, not pre-made ink. Then you build brush control through quick, structured drills. Only after that do you draw bamboo and write characters on your own shikisi board.
The value here is not only the art. It is the method. You learn how to hold the brush, how to vary the stroke, and how to translate a simple subject like bamboo into something that feels alive. And because the class includes everything you need—tools, instruction, guidance—you avoid the common beginner problem of guessing what to do first.
The group size matters too. Limited to 6 participants, you get real feedback rather than being rushed through. If you have ever tried a workshop where everyone is trying to catch up, you know why that matters.
Make something by hand in a Kyoto workshop
Grinding Sumi Ink on a Suzuri: The Part That Sets the Tone
Most calligraphy classes skip the messy part. This one makes it the point.
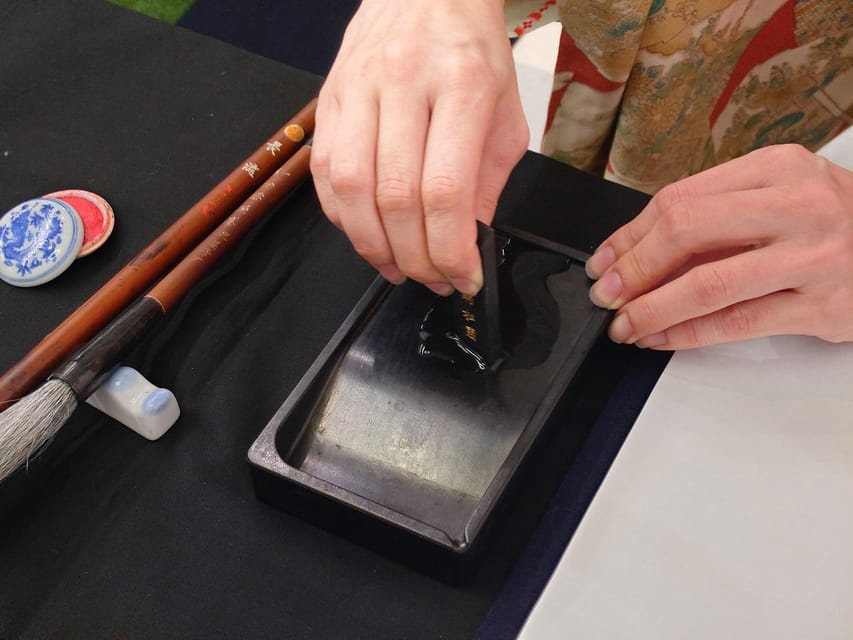
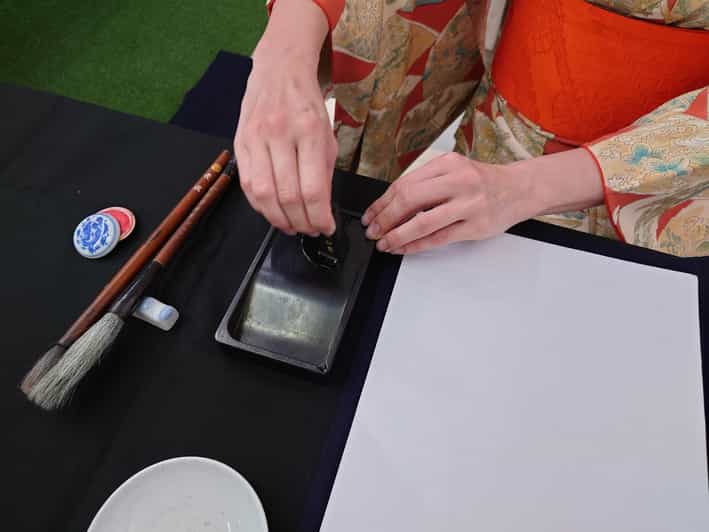
You begin by grinding sumi ink with an inkstone (suzuri). Instead of opening a jar of ready-made ink, you mix and refine the ink yourself using water. The class focuses on what that process teaches you: texture, fragrance, and ink hues that are shaped by your handling.
Why this matters for you as a visitor:
- It makes the art feel real. You understand the ink as a material, not just an ingredient.
- It slows your brain down. Grinding is repetitive and calm. That is exactly what you want in Kyoto when your day has been all temples and crowds.
- It gives you confidence. When you own the first step, the rest of the class feels less mysterious.
If you are the type who hates feeling unprepared, this helps. You are never handed a blank page without context. The ink gets set up in your hands, then you practice the brush right after.
Brush Practice You Can Use Later: Soku-hitsu and Choku-hitsu
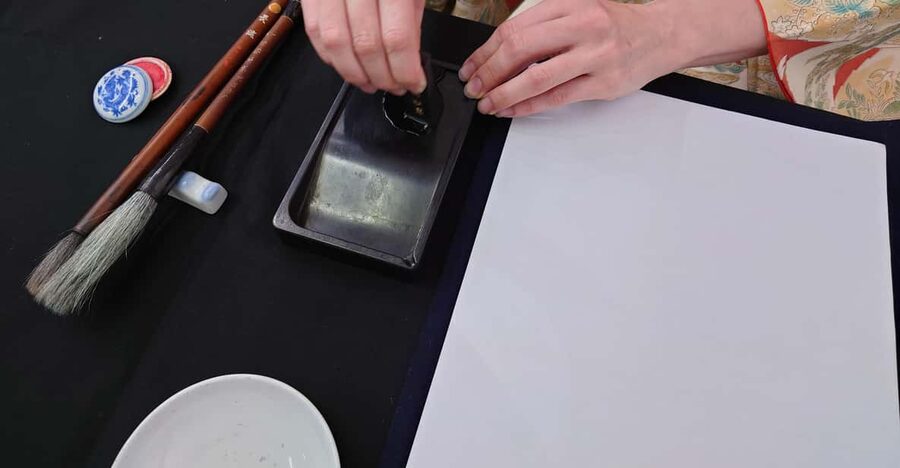
After the ink is ready, the class shifts to technique. You practice different brush methods in a deliberate order.
First comes soku-hitsu, where you use the side of the brush. This helps you learn how the stroke changes when the brush is not upright, and how pressure and angle affect the line.
Then you move to choku-hitsu, where you hold the brush upright. This part is great for beginners because upright strokes usually feel more controlled, and you can see improvement quickly as you repeat.
In a 50-minute workshop, timing is everything. This one uses a smart structure: practice strokes first, then apply them to bamboo. That means you are not hoping you picked the right motion—you are applying a technique you just rehearsed.
If you want to keep practicing after you go home, these two modes are a good foundation. They give you a way to think about brush movement instead of just copying shapes.
Drawing Bamboo on a Shikisi Board: Simple Subject, Good Results
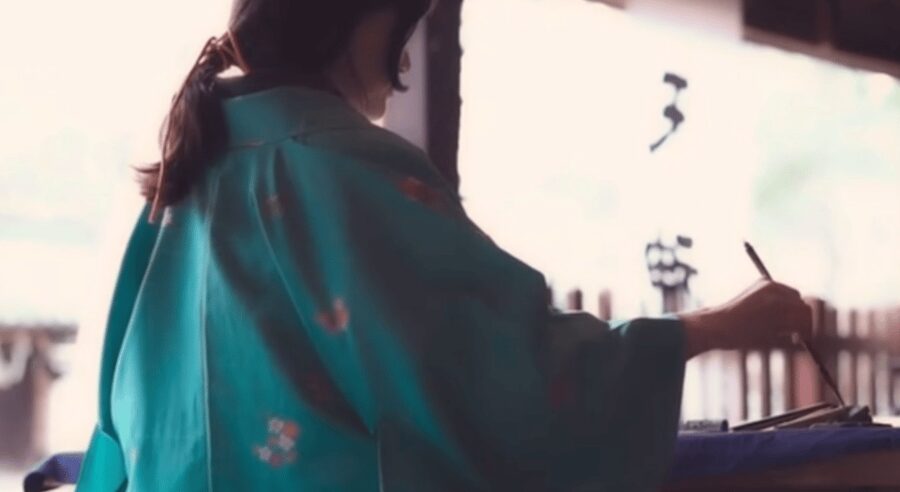
Now for the main event: bamboo.
You draw bamboo on a shikisi board using what you learned. The workshop keeps things focused—bamboo is clear, repeatable, and forgiving enough for a first attempt, while still looking impressive when done well.
What I like about bamboo as a subject for a short class:
- You can break it into strokes (stems, leaves, directional lines).
- Your hand learns to move with intention instead of random swirls.
- The final board looks like a real piece of art, not a classroom craft.
You also get the satisfaction of finishing something physical. No screen, no instant photo, no souvenir that feels mass-produced. When your bamboo lines are placed where they should be, the board reads as balanced and intentional.
And yes, the bamboo is your canvas—but your brush practice is what makes it click.
Writing 竹 and 和: The Calligraphy Finish That Makes It Personal
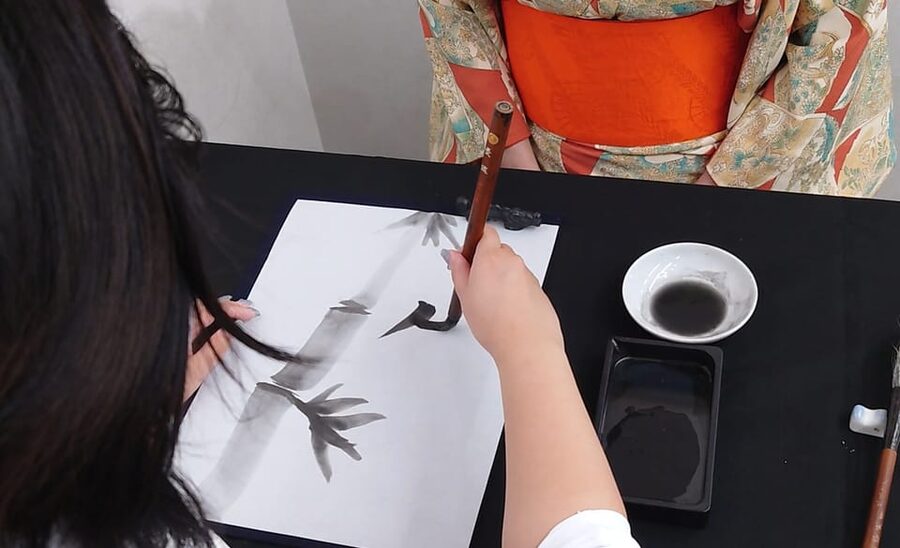
Once your bamboo is done, you write characters next to it.
The default characters are:
- 竹 for bamboo
- 和 for harmony
This is more than decoration. Putting the character near your painted bamboo turns your board from a drawing into a calligraphy piece with meaning. It is also a smart way to help you finish confidently: you are not stuck wondering what to write.
If you have other requests, you can let the guide know. The guide will write the requested characters for you. That is useful if you want something personal without burning time on memorizing kanji forms in the moment.
Either way, you end with a board that feels like it belongs to you. Not generic. Not just a souvenir.

Indoors, Timing, and the Class Flow: What a 50-Minute Session Feels Like
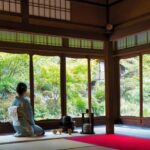
This activity runs indoors and lasts 50 minutes. You should plan to arrive on time. With short classes, being late compresses the teaching, and you will feel it.
The workshop is also designed for beginners. You do not need prior calligraphy experience. That matters in Japan, where many art activities assume you have at least a basic familiarity.
You should expect a steady rhythm:
- ink setup
- technique drills (soku-hitsu, then choku-hitsu)
- bamboo drawing on the shikisi board
- finishing with character writing
Also, you get an apron so your clothes do not get dirty. That is a small thing, but it removes stress. You can focus on the brush instead of worrying about stains.
The instructor speaks both English and Japanese. That’s helpful not only for understanding instructions, but for asking questions when you are unsure which stroke the guide wants.
Tools Provided, Transportation Not Included: What You’ll Want to Plan
Everything you need is included: tools for calligraphy, the inkstone (suzuri), a shikisi board, and guidance on techniques and drawing bamboo. The one thing you are not getting is pre-made sumi ink—because the class has you make it.
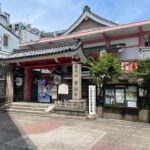
Transportation to the venue is not included, so you will handle getting there on your own. The meeting point is near the giant crab sculpture of Kani Doraku. If you are planning your Kyoto day, this is easy to anchor with: find Kani Doraku, then head to the nearby spot.
What to bring:
- comfortable shoes
- a hat
- sunscreen
- water
- comfortable clothes
Even though it is indoors, these items make sense because getting to the meeting point in Kyoto can still involve sun and walking.
Price and Value: Is $49 Worth It for a Take-Home Board?
At $49 per person for 50 minutes, this is a reasonable price for a workshop where you:
- grind and use your own sumi ink
- practice brush technique with guidance
- draw bamboo on a shikisi board
- write kanji and take the finished board home
The value is in the included materials and the finished souvenir. You are not paying for a lecture. You are paying for an activity that produces something you can display, plus instruction that helps you avoid wasting time guessing.
Is it expensive compared to buying a postcard? Sure. But compared to other short cultural workshops where you leave with a small item and no real craft practice, this gives you more. You walk out with a board that took real effort, and you gained a technique you can try again later.
Also, small group format helps justify the cost. Limited to 6 participants means less waiting and more attention during the tricky part: the brush strokes.
Who This Is For (and Who Should Recheck Fit)
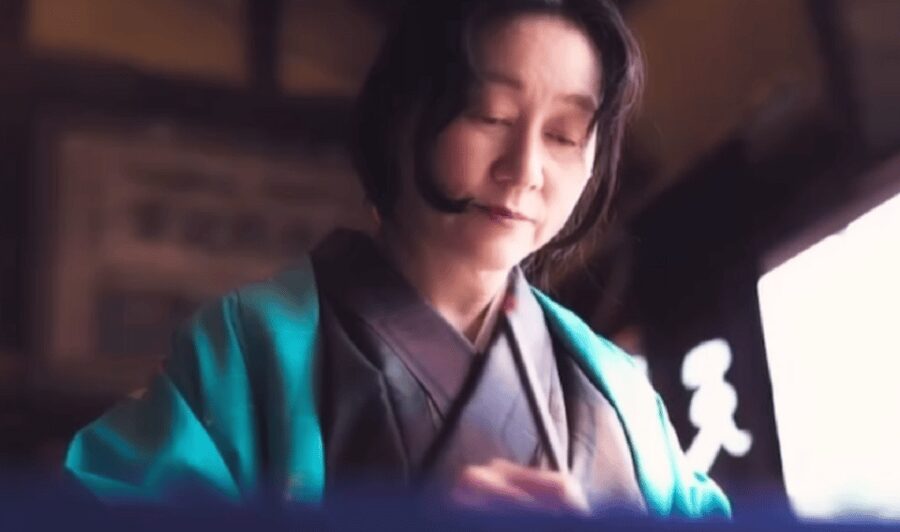
This experience fits best if you want a calmer Kyoto moment with a hands-on skill.
You’ll likely enjoy it if you:
- like making things with your hands
- want a beginner-friendly introduction to Japanese brush work
- want a take-home souvenir that looks and feels like art
- prefer small-group instruction over big classes
A few considerations based on the provided information:
- The class is not suitable for wheelchair users and people with mobility impairments, even though it is also marked wheelchair accessible. If you use a mobility aid, contact the provider first so you do not waste time on an activity that may not work in practice.
- Because it is indoors and timed, it is not a good match if you need a long, flexible schedule.
Practical Tips to Get the Best Results
Here are simple ways to make the 50 minutes go smoothly:
Wear clothes you feel good getting slightly ink-adjacent, even with the apron. You are provided an apron, but you still do not want to wear your best outfit.
Bring water and keep yourself comfortable beforehand. The workshop is short, but concentration is easier when you are not overheated or thirsty.
Listen closely during the brush technique drills. The side-of-brush vs upright-brush practice is where your later bamboo will either look balanced or feel wobbly.
And when it comes time to write the characters, choose what matters to you. If the default 竹 and 和 match what you want, stick with it. If you want something else, tell the instructor—just remember you are working within a short time window.
Should You Book This Kyoto Calligraphy Experience?
If you want a beginner-friendly craft that ends with a real, display-worthy board, I would book it. It is well structured: grind ink, practice strokes, draw bamboo, then finish with meaningful kanji.
I would especially choose it on a day when Kyoto feels intense—when you want a quiet reset you can hold in your hands. And because the group is small and the instruction covers the exact steps you need, you are unlikely to leave feeling lost.
Before you book, double-check mobility fit if that applies to you, since the accessibility notes conflict.
If you are ready for a thoughtful, low-stress art session with a take-home result, this one is a strong pick.
FAQ
How long is the Kyoto Sumi Ink and Brush Calligraphy experience?
It lasts 50 minutes.
What is the price per person?
The price is $49 per person.
Where is the meeting point?
It is near the giant crab sculpture of Kani Doraku.
Is prior calligraphy experience required?
No prior experience is required.
What languages are the instructors?
The instructor speaks English and Japanese.
What tools are included in the class?
All necessary tools for calligraphy are provided, including an inkstone (suzuri) and a shikisi board.
Is pre-made sumi ink provided?
No. The class is designed around grinding sumi ink with an inkstone and water.
Can I take my artwork home?
Yes. You take home your finished shikisi board.
What should I bring with me?
Bring comfortable shoes, a hat, sunscreen, water, and comfortable clothes.
Is it suitable for wheelchair users?
The information includes both a wheelchair accessibility note and a note that it is not suitable for wheelchair users or people with mobility impairments. If this applies, confirm fit with the provider before booking.
More Tour Reviews in Kyoto
More Kyoto Workshops to Try

Just added: more Kyoto tours to browse





Kyoto Craft & Calligraphy Workshops, compared.
 ★ 5.0Chopsticks Making Workshop in Gion with Engraving OptionFrom $15958 reviews
 ★ 4.8Authentic knife making experience at a blacksmith in KyotoFrom $154350 reviews
 ★ 5.01-Hour Japanese Archery Experience in KyotoFrom $46176 reviews
 ★ 5.0Calligraphy class at Buddhist temple in city centerFrom $55167 reviews
 ★ 5.0Roketsu dyeing experience: M course Roketsu Dyeing ExperienceFrom $25163 reviews
 ★ 4.9Japanese Archery Workshop with Experienced InstructorFrom $38132 reviews
 ★ 4.8Japanese Calligraphy ClassFrom $5189 reviews
 ★ 5.0TAIKO, Japanese Drum Experience from KyotoFrom $11586 reviews
Browse the lists this tour appears in