
Reviewed · FUSHIMI INARI SHRINE TOURS
Guided Photoshoot of Fushimi Inari Shrine and Secret Bamboo Grove
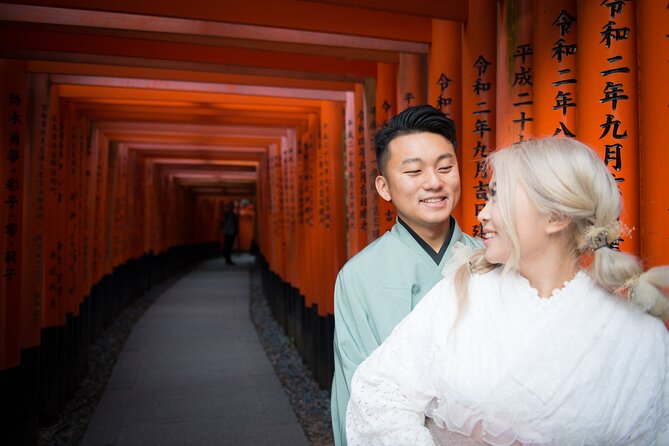
Fushimi Inari deserves photos, not guesswork. In this private 60-minute session with photographer Hugh Dornan, you get a guided run through the red torii gates and a secret bamboo grove detour that helps you avoid some of the biggest bottlenecks. I also liked the mix of guided poses and real, off-guard moments, plus the quick delivery of professionally edited images by Google Drive in 1–3 days. One consideration: the plan depends on weather, so cloudy or rainy days can mean a date change.
You’ll meet near Fushimi-Inari Station (JR or Keihan options), then move through a logical photo route: shrine entrance, quieter bamboo area, and finally the classic torii passage. The tour also makes it easy to look good without extra spending on props, since you can use vintage Japanese fans and umbrellas for photos upon request. If you’re expecting a sit-and-stare experience, this is more of a walk-and-shoot hour.
In This Review
- Key Highlights You’ll Actually Feel During the Shoot
- Why a Fushimi Inari Photoshoot Works Better Than DIY
- Meeting at Fushimi-Inari Station: Start Simple, Then Get Creative
- Shrine Entrance Stop: Red, Gold, Fox Statues, and Better Compositions
- The Bamboo Grove Detour: Where Your Photos Get a Second Life
- The Main Torii Gate Sequence: Getting the Classic Shots Without the Stress
- What the Photographer Actually Delivers: Edited Jpegs, Optional RAW, and Fast Turnaround
- Props and Style Support: Fans and Umbrellas Change the Vibe
- Price and Value: Is $98.81 Worth It?
- Who This Photoshoot Fits Best (and Who Might Skip It)
- Quick Booking Advice Before You Go
- Should You Book This Fushimi Inari + Bamboo Photoshoot?
- FAQ
- How long is the photoshoot?
- Is this experience private?
- Where do I meet the photographer?
- What photos are included?
- When will I receive the edited photos?
- Are props included?
- Can I get RAW files?
Key Highlights You’ll Actually Feel During the Shoot
- A private, exclusive session so you’re not competing for space or waiting your turn
- The secret bamboo grove detour for photos that look different from the usual Fushimi Inari crowds
- Guided posing plus candid moments so you get both clean portraits and natural expressions
- Professional editing in 1–3 days with 50+ edited jpegs for solo and 60+ (often up to 70) for couples/groups
- Fans and umbrellas on request to add Kyoto texture without renting anything
- Hugh’s crowd-management instincts including asking for space when needed
Why a Fushimi Inari Photoshoot Works Better Than DIY
Fushimi Inari Shrine is one of those places where your photos can go either way. You can get classic shots, sure. But the usual problem is time and timing: you’re chasing the torii lines while people crisscross your frame, your camera gets stuck on the wrong setting, and you end up with the same images as everyone else.
This photoshoot solves the main DIY headache. You’re not just walking the route on your own. You’re following a photo plan with someone who knows how to turn the shrine’s visuals into images that look intentional: clean compositions, good light choices when possible, and body angles that flatter (even when you don’t know what to do with your hands).
And the bonus is that you’re not locked into the most famous view all hour. You get an alternate scene in the bamboo grove area, which gives your photo set variety. That matters because “a hundred torii gates” can still feel like one visual theme if you don’t add a second setting.
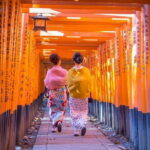
More walks up through the vermilion torii of Fushimi Inari
Meeting at Fushimi-Inari Station: Start Simple, Then Get Creative
The shoot starts back at the meeting area around Fushimi-Inari Station. You can meet at your preferred JR or Keihan Fushimi Inari option. That’s helpful if you’re already using one line more than the other.
From there, your guide leads you to the shrine entrance area and starts shooting right away. Expect a steady flow rather than stopping every five minutes. The whole session is about an hour, so the pacing is designed to fit real photography time, not just scenic wandering.
Practical tip: plan your outfit so you can move comfortably. Fushimi Inari has stairs, paths, and uneven spots in places. Nothing here is described as extreme, but you are on your feet for the full hour.
Shrine Entrance Stop: Red, Gold, Fox Statues, and Better Compositions
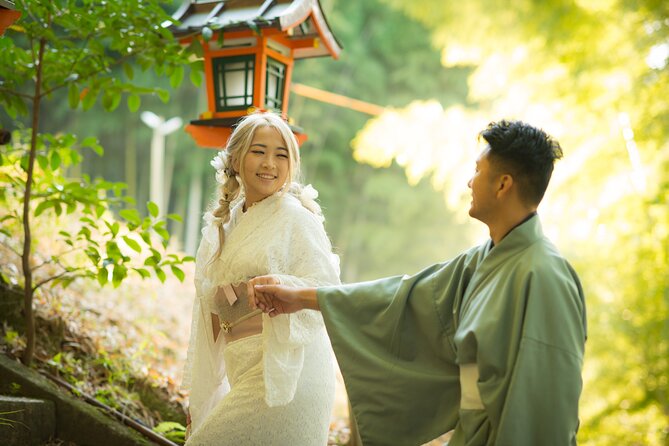
Your first photo run focuses on the shrine entrance area. This is where the colors do their work: red structures against gold tones, plus the fox statues that people associate with Inari worship.
What you’ll notice is that the shoot isn’t only about pointing the camera at the most photographed building. Hugh helps you set your body position so you get shape and depth. You’ll also do a combination of posed shots and candid-style frames along the way.
I like that approach because it matches how people actually want photos. You don’t just want a single “standing in front of the shrine” picture. You want a few portraits that look planned, and a few that feel like you were there living the moment.
Also, if you want family photos or more than two people, the private format helps. You’re not squeezed into the same tiny space as strangers with their tripods.
The Bamboo Grove Detour: Where Your Photos Get a Second Life
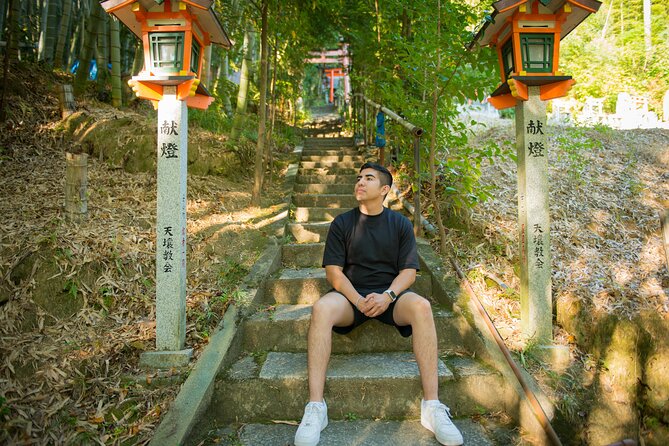
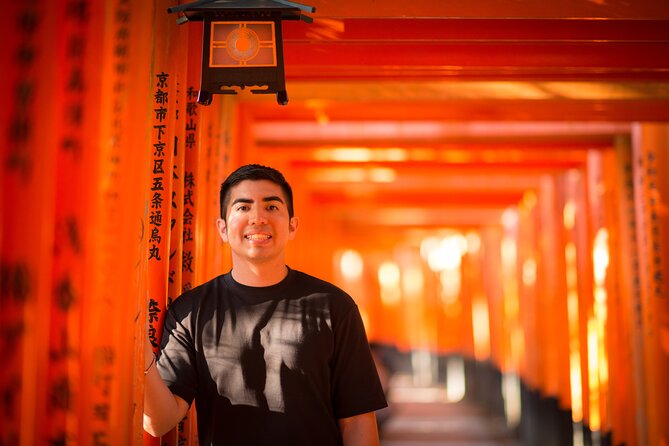
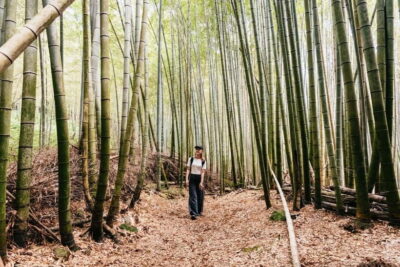
Then comes the part many people come to Kyoto for and still rarely get: a quieter bamboo grove area, described as a small, peaceful spot locals may not even know about.
This stop is valuable for two reasons.
First, it changes the look of your entire gallery. A shrine is a shrine, but bamboo gives you a softer, more vertical feel. Lantern-like elements and red torii in the mix can create images that feel distinctly Kyoto without repeating the same red gate composition.
Second, it can reduce the crowd pressure. Fushimi Inari is famous for being packed. Even if you love crowds, your photos will get cleaner when you’re in a calmer pocket. The shoot is built to find those less busy angles.
If you’ve got a group where one person likes sightseeing and another likes photos, this detour is a good peace-maker. Bamboo can satisfy both: it’s scenic, and it’s photographic.
The Main Torii Gate Sequence: Getting the Classic Shots Without the Stress
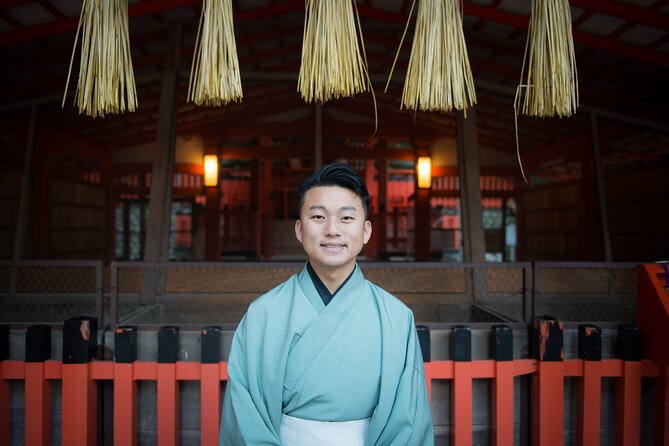
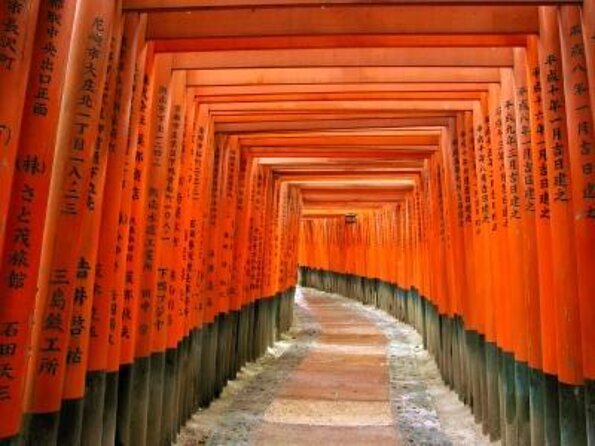
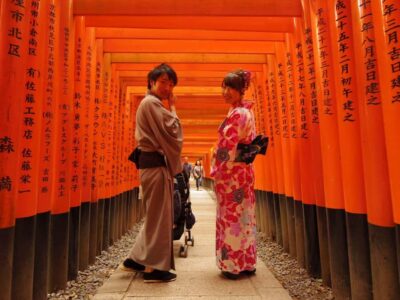
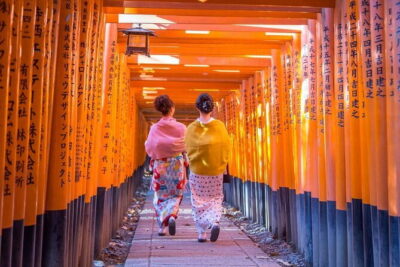
After bamboo and the hidden area shots, you return to the famous red torii gates for the final section. This is the part most people imagine: you, your group, and endless torii lines creating that tunnel effect.
Here’s what’s worth knowing: the shrine can be busy, so your results depend on how you move and what you prioritize in a short time. With a guided shoot, you’re not just walking until you hope the light is right. You’re working through a set of planned frames, including the classic shrine entry/gate views and other angles that add variety.
This is also where you’ll appreciate the “private” part. You aren’t negotiating time with other photographers for the same photo corner. You can reset, reframe, and keep moving.
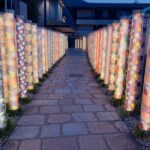
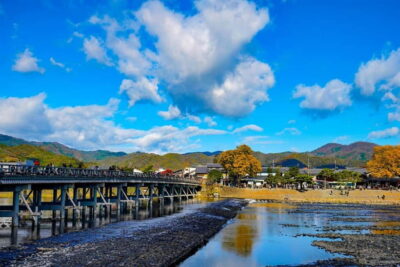
Deeper into Arashiyama, past the bamboo and the Hozu river
What the Photographer Actually Delivers: Edited Jpegs, Optional RAW, and Fast Turnaround
A lot of tours sell photos. Fewer deliver the kind of results you can use right away.
In this session, you receive professionally edited images in jpegs. The exact count is based on your booking type:
- Solo photoshoots include 50 or more edited photos
- Couples and groups receive 60+, and the included package also lists 70 of the best edited shots
Edits arrive quickly: images are sent via Google Drive 1–3 days later. That’s big if you’re still in Japan and want your photos while the trip memories are fresh.
If you’re serious about editing later or you want maximum flexibility, there’s an option for RAW files for an extra 5000 yen. RAW isn’t included by default, so think about what you’ll actually do with it.
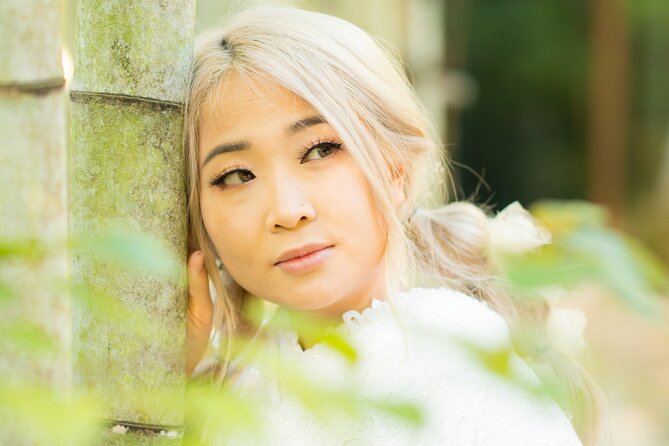
The shoot also includes the “small extras” that can make a big difference in how photos look. Hugh offers suggestions on poses and helps you get natural candid moments, not just stiff, centered portraits.
Props and Style Support: Fans and Umbrellas Change the Vibe
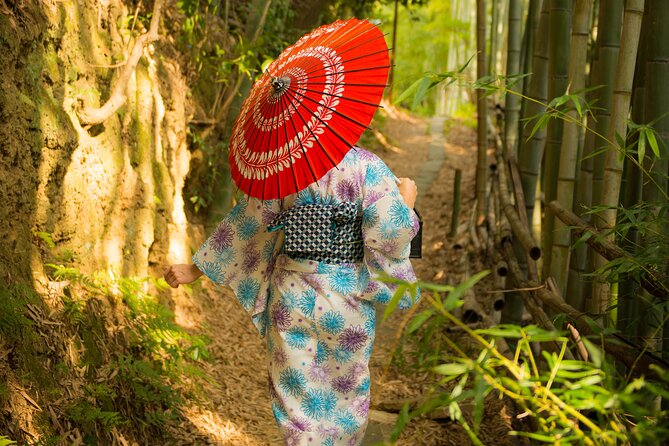
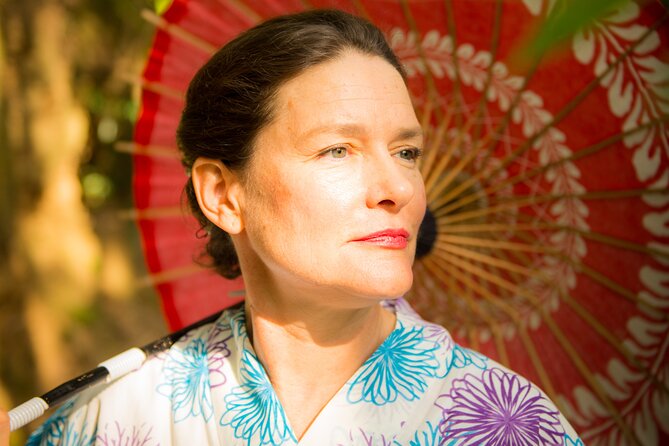
A smart touch: you can request complimentary vintage Japanese fans and umbrellas for photos.
Why this matters: props can turn a basic portrait into a scene. Even if you don’t want a full kimono look, those items bring texture and movement, which helps photos feel less like a snapshot and more like a memory you’ll actually want to print.
No kimono rental is included, but if you’re already wearing traditional-style clothing for your day in Kyoto, these props help bridge the gap between “outfit” and “photo theme.”
Price and Value: Is $98.81 Worth It?
At $98.81 per person, you’re paying for three things: a private route, professional shooting and editing, and a fast delivery timeline.
If you were to do this yourself, you’d spend time figuring out timing, competing with other people for views, and relying on your camera skills (or your travel buddy’s shaky arms). DIY can work, but it rarely produces the “I love every photo” set.
Here, you’re buying:
- a guided photo plan through multiple settings (torii + bamboo)
- a guaranteed number of edited images
- a quick 1–3 day delivery process
- help with posing and crowd management
That’s why it tends to land well for honeymoons, proposal-style moments, pregnancy announcements, and families who want less stress and better results. One review even highlighted that Hugh knew how to politely ask people to give space, which is exactly what you want when you’re trying to frame cleanly.
Who This Photoshoot Fits Best (and Who Might Skip It)
This is a great fit if you:
- want classic Fushimi Inari shrine photos without spending your day playing photographer for everyone
- care about getting both posed and candid-style shots
- want variety beyond just red torii gates, thanks to the bamboo grove stop
- like the idea of editing handled for you, delivered quickly to your phone or laptop
It might be less ideal if you:
- don’t want to walk between spots for about an hour
- only want a couple of casual pictures and are happy with basic smartphone results
- are traveling with a super fixed schedule where a weather-related reschedule would be hard
Quick Booking Advice Before You Go
A few practical notes to help you get the most out of your hour:
- Wear comfortable shoes. Fushimi Inari involves walking and uneven ground.
- If you want extra props, ask in advance so you’re not guessing on the day.
- If you care about specific photo goals (family, honeymoon-style, pregnancy announcement), go in with a clear idea of the vibe you want. Hugh’s job is to translate that into poses and framing.
And yes, keep an eye on the weather. This experience requires good weather, and if it’s canceled due to poor weather, you’ll be offered a different date or a full refund.
Should You Book This Fushimi Inari + Bamboo Photoshoot?
If your goal is memorable photos that look intentional, I think this is a strong buy. The combination of Fushimi Inari gates plus the bamboo grove stop gives your gallery more range than a one-scene shoot. Add the private format and the fast delivery of professionally edited photos, and you’re not just sightseeing. You’re coming home with usable memories.
If you’re on a tight budget and you’re happy with DIY, you can do Fushimi Inari on your own. But if you’re willing to pay for guidance and editing, this is one of the more practical ways to make sure your Kyoto photos don’t feel like work.
FAQ
How long is the photoshoot?
It lasts about 60 minutes.
Is this experience private?
Yes. It’s private, and only your group participates.
Where do I meet the photographer?
You meet at Fushimi-Inari Station area. The meeting can be at your choice of JR or Keihan Fushimi Inari stations, and the activity ends back at the meeting point.
What photos are included?
You get professionally taken and edited jpegs. The session includes 50 or more edited photos for solo bookings, and 60+ for couples, with the included package listing 70 edited shots for couples/groups.
When will I receive the edited photos?
They’re sent via Google Drive 1–3 days after the shoot.
Are props included?
Yes. Vintage Japanese fans and umbrellas are available for free use upon request.
Can I get RAW files?
Yes. RAW files are available for an extra 5000 yen.
More Kyoto Temples and Shrines
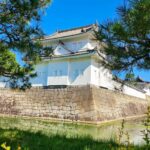

More of Arashiyama and Sagano
Fushimi Inari, a Few More Ways
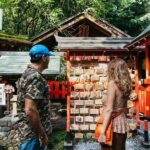
Just added: more Kyoto tours to browse
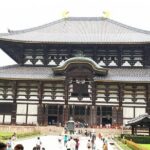





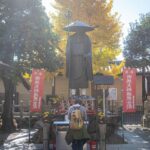
Fushimi Inari Shrine Tours, compared.
 ★ 4.8Fushimi Inari, Kinkakuji, Bamboo Grove 1 Day Bus TourFrom $1224,316 reviews
 ★ 5.0Fushimi Inari Hidden Hiking Tour (Private Option Available)From $631,750 reviews
 ★ 4.7Kyoto/Osaka: Nara, Fushimi Inari Taisha, Arashiyama Bus TourFrom $521,275 reviews
 ★ 4.4Osaka/Kyoto: Arashiyama, Nara & Fushimi Inari Shrine w/LunchFrom $61754 reviews
 ★ 4.7Nijo Castle, Kiyomizu & Fushimi Inari Guided TourFrom $54700 reviews
 ★ 5.0Nijo, Kinkaku-ji, Arashiyama, Kiyomizu & Fushimi InariFrom $51699 reviews
 ★ 5.0Kyoto Fushimi-Inari Night Walking TourFrom $43320 reviews
 ★ 4.93-Hour Fushimi Inari Shrine Hidden Hiking TourFrom $72270 reviews
Browse the lists this tour appears in